Quick Start
Get started with RabbitQA Platform in minutes.
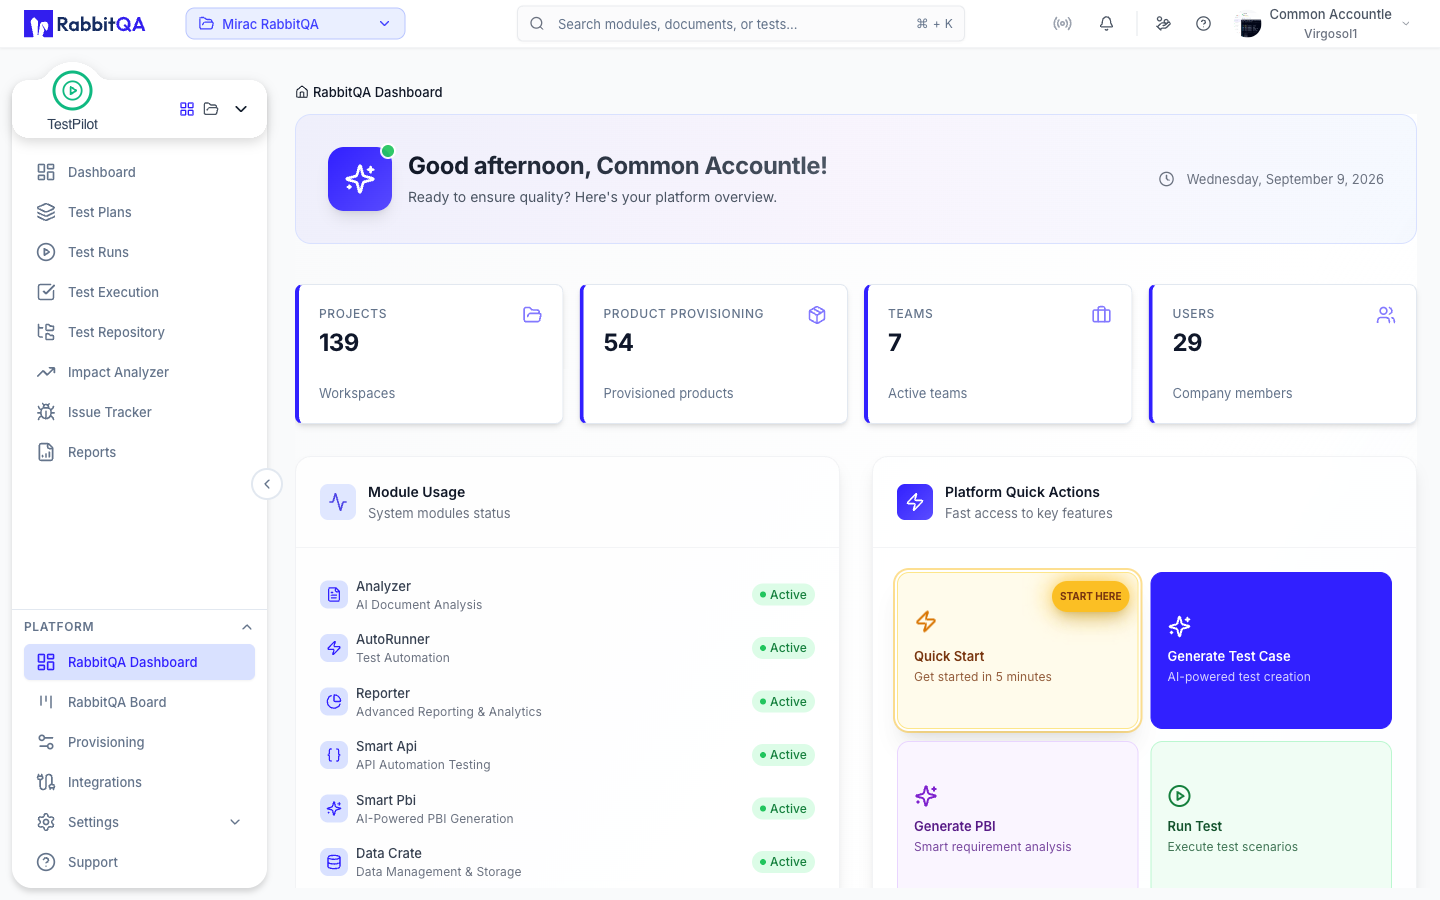
Step 1: Explore the Dashboard
Navigate to RabbitQA Dashboard from the platform menu. Review platform-wide metrics including total projects, active test runs, completed tests, and pass rates across all modules.
Familiarize yourself with the unified view of activities from Analyzer, CaseWriter, TestPilot, and other modules.
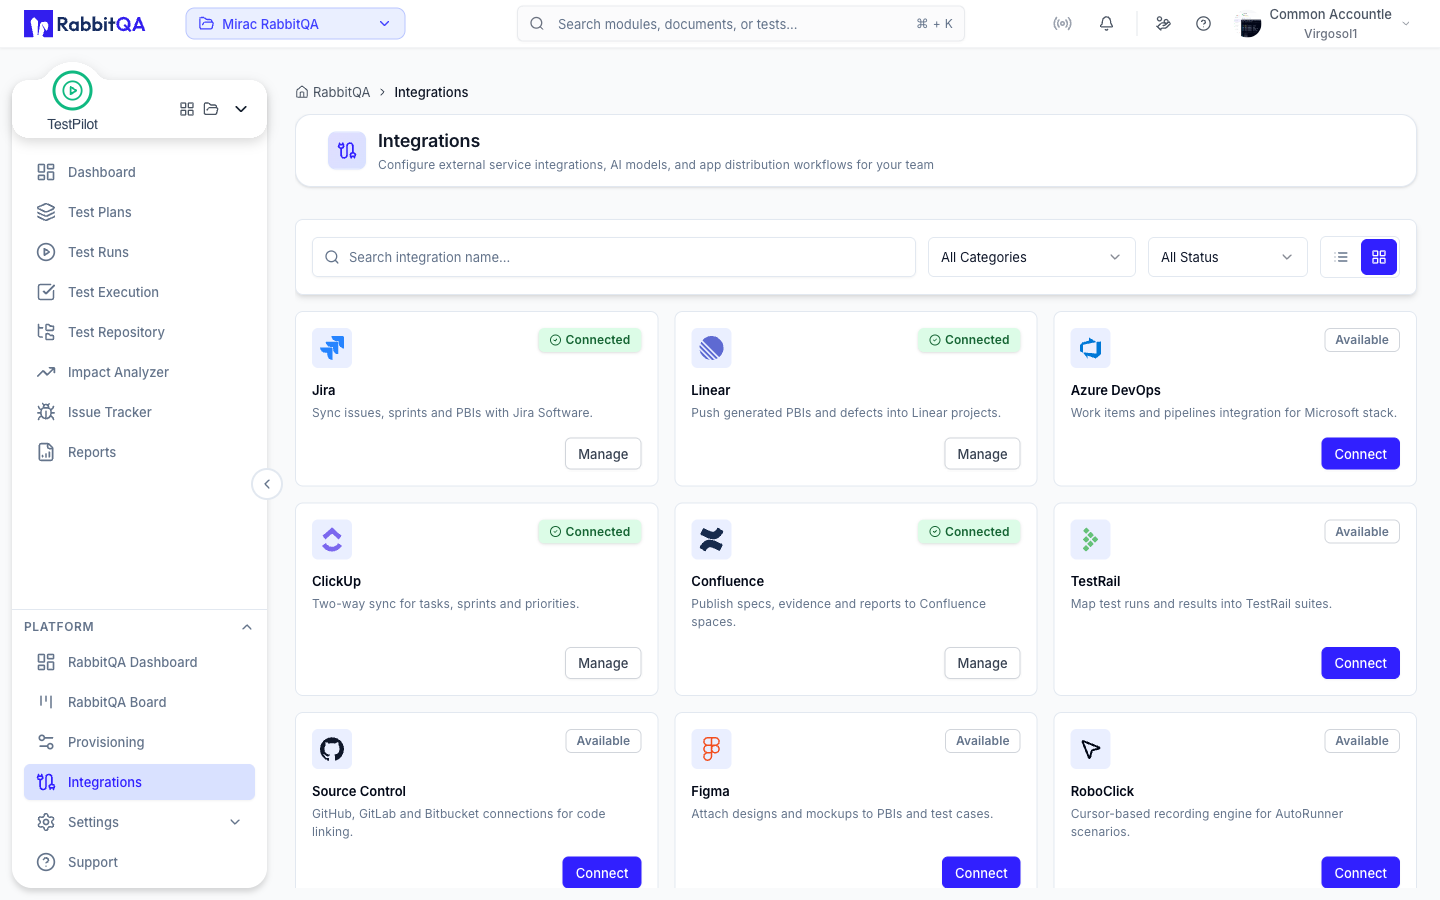
Step 2: Configure Integrations
Go to Integrations page and set up connections with your external tools. Start with Jira or Azure DevOps integration by entering your instance URL, API token, and verifying the connection.
Configure custom AI agent integrations if you plan to use specialized AI models for document analysis or test case generation.
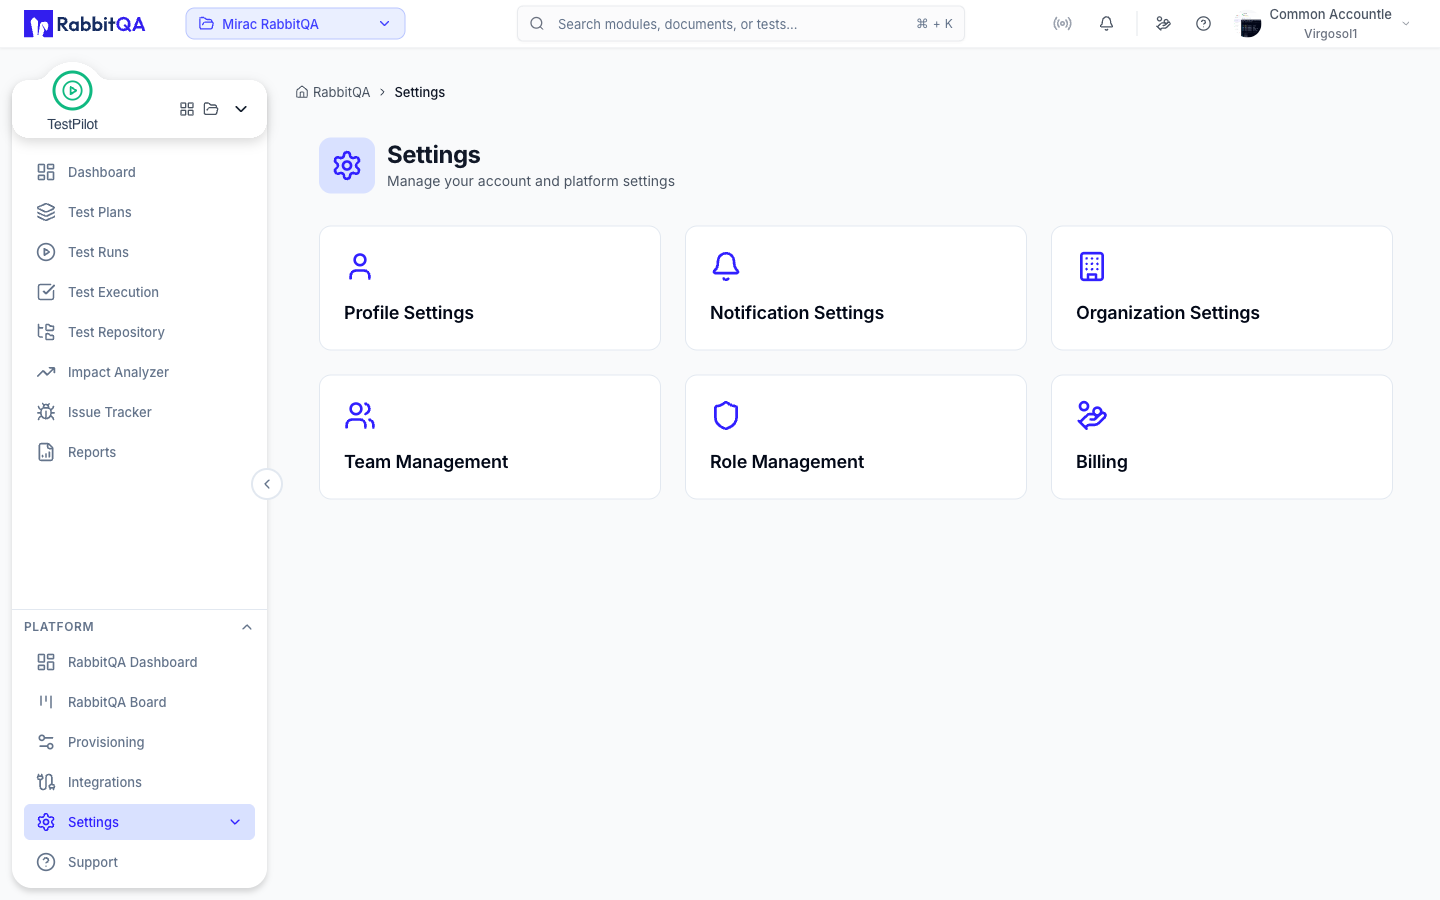
Step 3: Configure Platform Settings
Visit Settings page to configure organization preferences, user roles and permissions, notification settings, and platform-wide preferences.
Set up team members, define roles, configure email notifications, and customize platform behavior to match your organization's needs.
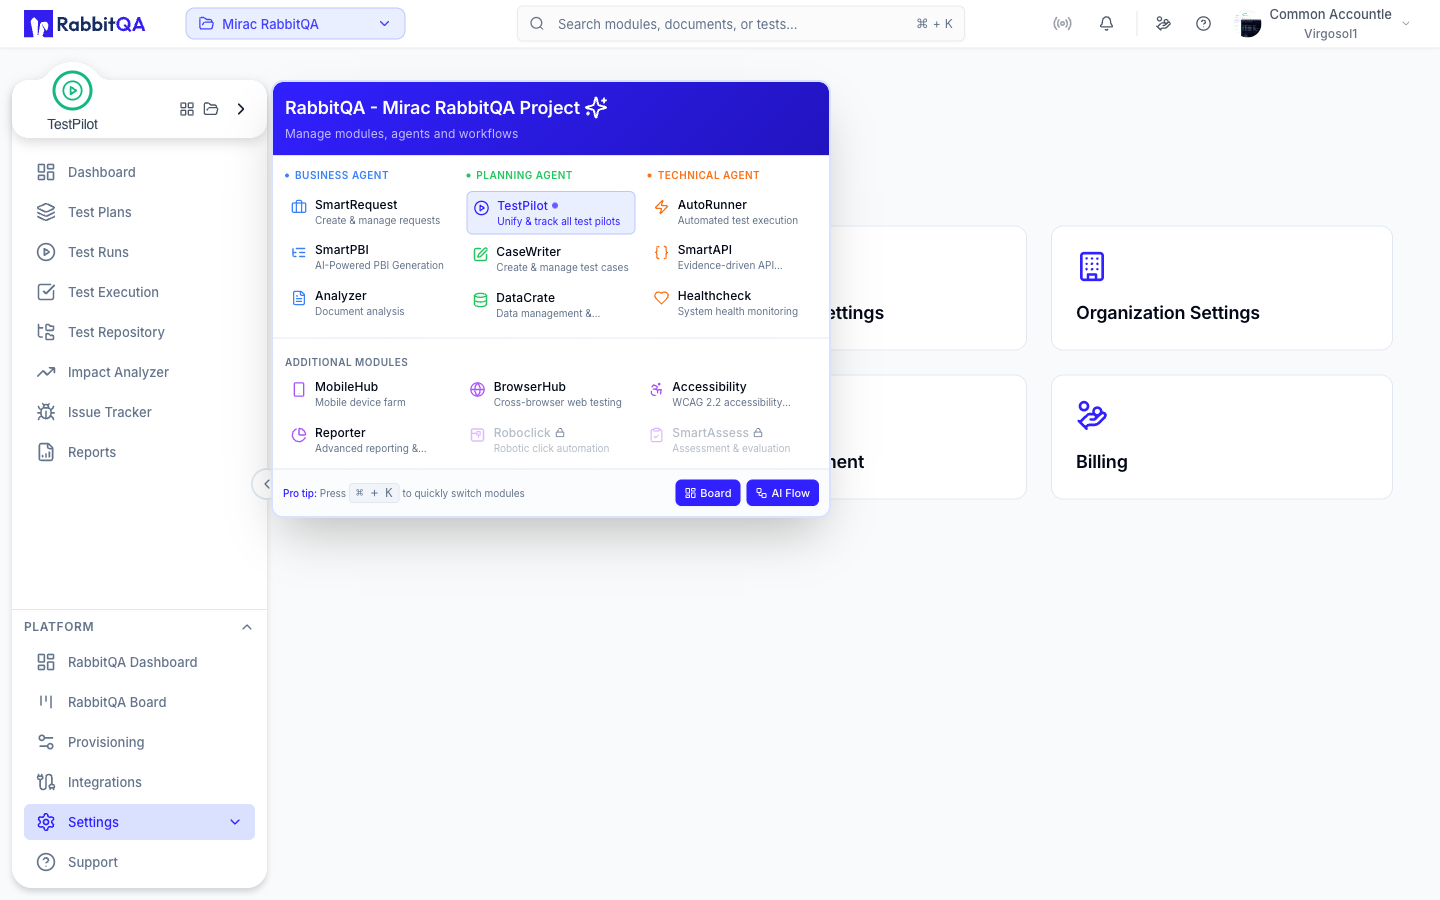
Step 4: Access Modules
Use the module switcher in the header to navigate between Analyzer, CaseWriter, TestPilot, and other modules. Each module maintains its own workspace while sharing platform-level configurations.
Start with Analyzer to upload and analyze documents, then move to CaseWriter for test case creation, and finally TestPilot for test execution.