Get Started with RabbitQA
This guide explains how the platform is organized and what to do in your first session. Read the two concepts below first — workspaces and roles decide what you can see, and most early confusion comes from them.
Two concepts to understand first
Workspaces
A workspace is the container your work lives in. Projects, test cases, test runs, datasets and generated sessions all belong to one workspace.
- The workspace switcher is in the application header, and the active workspace appears in the URL as
?workspace=. - Switching workspace changes the data you see — the same account can have very different test repositories in two workspaces.
- Each workspace has its own set of enabled modules. If a colleague can open AutoRunner and you cannot, it is usually because your workspace does not have that module enabled, not because of your role.
Roles and permissions
Access is decided by a role, and roles carry granular permission keys rather than broad tiers.
| Role | Typically can |
|---|---|
| Super Admin | Administer the platform itself |
| Owner | Everything within the company, including billing |
| Account Admin | Company-wide administration |
| Admin | Administer a workspace: members, settings, module configuration |
| Lead | Run a team's work, manage members and approve generated content |
| Tester | Create and execute work: cases, runs, results, sessions |
| Observer | Read only |
Custom roles can be created with any combination of permission keys, so these are typical shapes rather than fixed capabilities. To see exactly what you hold, open Settings › Profile, or ask an administrator to check Settings › Roles.
Billing is deliberately not granted by the admin roles. A user sees Settings › Billing only if they have explicitly been given the billing permission.
Get started in four steps
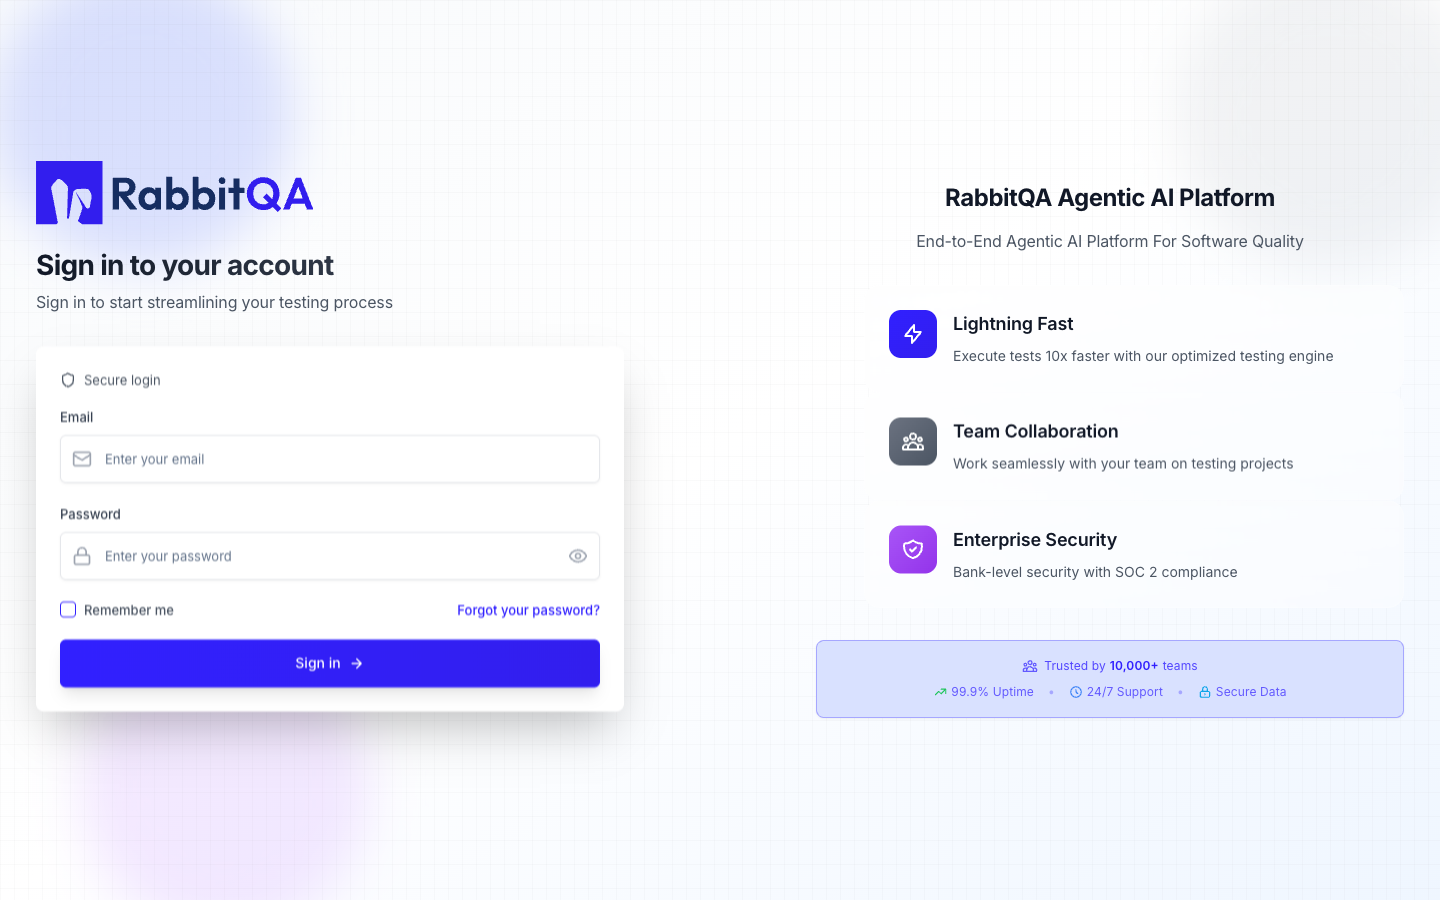
1. Sign in
Your account is either created by an administrator who invites you, or through sign-up if your organization allows it. See Sign Up / Login.
2. Choose your workspace
Pick the workspace you will be working in from the header switcher. If you only have one, it is selected for you. If you see none, ask an administrator to grant you access.
3. Connect your tools
Integrations are configured once for the company under Platform › Integrations — Jira, Azure DevOps, ClickUp, Confluence, TestRail, source control and the AI models used for generation. See Configuration.
4. Do a first piece of real work
Pick whichever matches your job:
- Analyst or product owner — upload a requirement document in Analyzer, score it, then generate backlog items in Smart PBI.
- Test designer — generate test cases from a document in CaseWriter, review them, and export the approved ones to the test repository.
- Tester — create a test plan in TestPilot, add cases, and record results against a run.
- Automation engineer — connect a source in AutoRunner and run a scenario.
Modules
| Module | Use it for |
|---|---|
| TestPilot | Test plans, runs, executions, defects and reports |
| CaseWriter | Generating, reviewing and storing test cases |
| DataCrate | Test data, mock services and dynamic forms |
| Analyzer | Document analysis and requirement quality scoring |
| SmartRequest | Request intake, evaluation and approval |
| Smart PBI | Epics, features and stories, and the PBI board |
| AutoRunner | Automation sources, scenarios, runs and schedules |
| HealthCheck | Uptime, security and business monitoring |
| SmartAPI | API test generation and execution |
| MobileHub | Real device testing, live and automated |
| BrowserHub | Managed browser sessions |
| Accessibility | WCAG audits and findings |
A typical end-to-end flow
Modules are designed to hand work to each other, so you rarely export and re-import.
| Stage | Where | What happens |
|---|---|---|
| 1 | Analyzer | Upload the requirement, score it, fix what is ambiguous |
| 2 | Smart PBI | Generate epics, features and stories; approve them; push to Jira or Azure DevOps |
| 3 | CaseWriter | Generate test cases from the same source, review and approve them |
| 4 | TestPilot | Build a test plan, run it, record results, raise defects |
| 5 | AutoRunner | Automate the cases worth repeating and schedule them |
| 6 | HealthCheck | Monitor the release once it is live |
You do not have to use every stage. Each module is usable on its own.
Getting the most out of it
- Start with one module. Analyzer or CaseWriter give the fastest sense of what the AI generation is good at.
- Use presets. Generation forms can be saved as presets, which keeps output consistent across a team.
- Take the review gate seriously. Generated cases and backlog items are meant to be reviewed before they reach your repository — that gate is what keeps the repository trustworthy.
- Check your workspace before troubleshooting. Missing data is far more often the wrong workspace than a bug.
Need help?
Every module has a help panel in the application that opens the matching page of this documentation. For account and access problems, contact your organization's RabbitQA administrator.
Next steps
- Platform Dashboard — what the landing page shows
- Configuration — connecting integrations
- Test Management Concepts — the vocabulary used throughout
- Platform Architecture — how the services fit together
