Quick Start Guide
Get started with AutoRunner by creating a project, writing a BDD scenario, and executing your first test run.
What You Will Learn
This guide walks you through the complete workflow — from creating an automation project to viewing test results. You will have a working test suite running in under 10 minutes.
Prerequisites
Before starting, ensure you have:
- An active RabbitQA account with AutoRunner module access
- At least one project created in Platform
- A test framework installed in your environment (AutoRunner supports 12 frameworks including Gauge, Cucumber, Postman, Robot, AI Agent, SAP, Oracle, Logo Tiger, Recorder, JUnit, TestNG, and xUnit)
Step 1: Create an Automation Project
- Navigate to AutoRunner from the main sidebar.
- Click the Projects tab in the top navigation.
- Click the Create Project button in the upper-right corner.
- Enter a project name, select a framework (e.g., Gauge, Cucumber), choose a project type (Web, Desktop, Mobile, Service), and optionally add a description.
- Click Create to save the project.
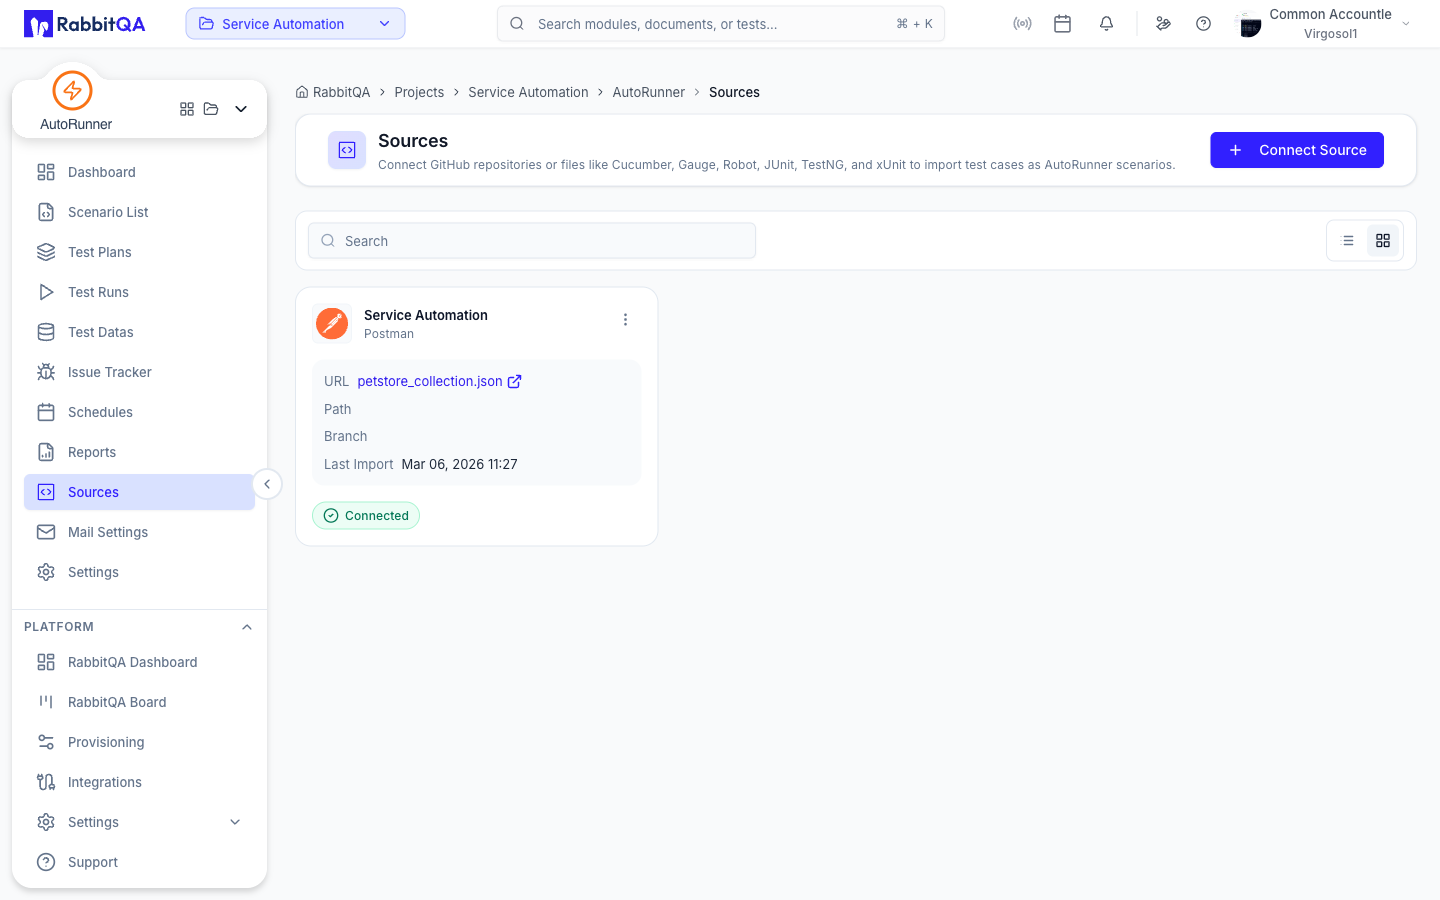
For detailed project configuration including repository integration, team access, and health KPIs, see Projects.
Choose the framework that matches your existing test codebase. If you are starting fresh, Gauge and Cucumber offer the best BDD experience with AutoRunner's built-in editor. For a full list of 12 supported frameworks, see the Introduction.
Step 2: Create a Test Suite
- Open your newly created project by clicking its card.
- Click the Suites tab.
- Click Create Suite to open the suite configuration panel.
- Configure the suite name, driver (Chrome, Firefox, Edge, etc.), environment, and optional tags.
- Click Save to create the suite.
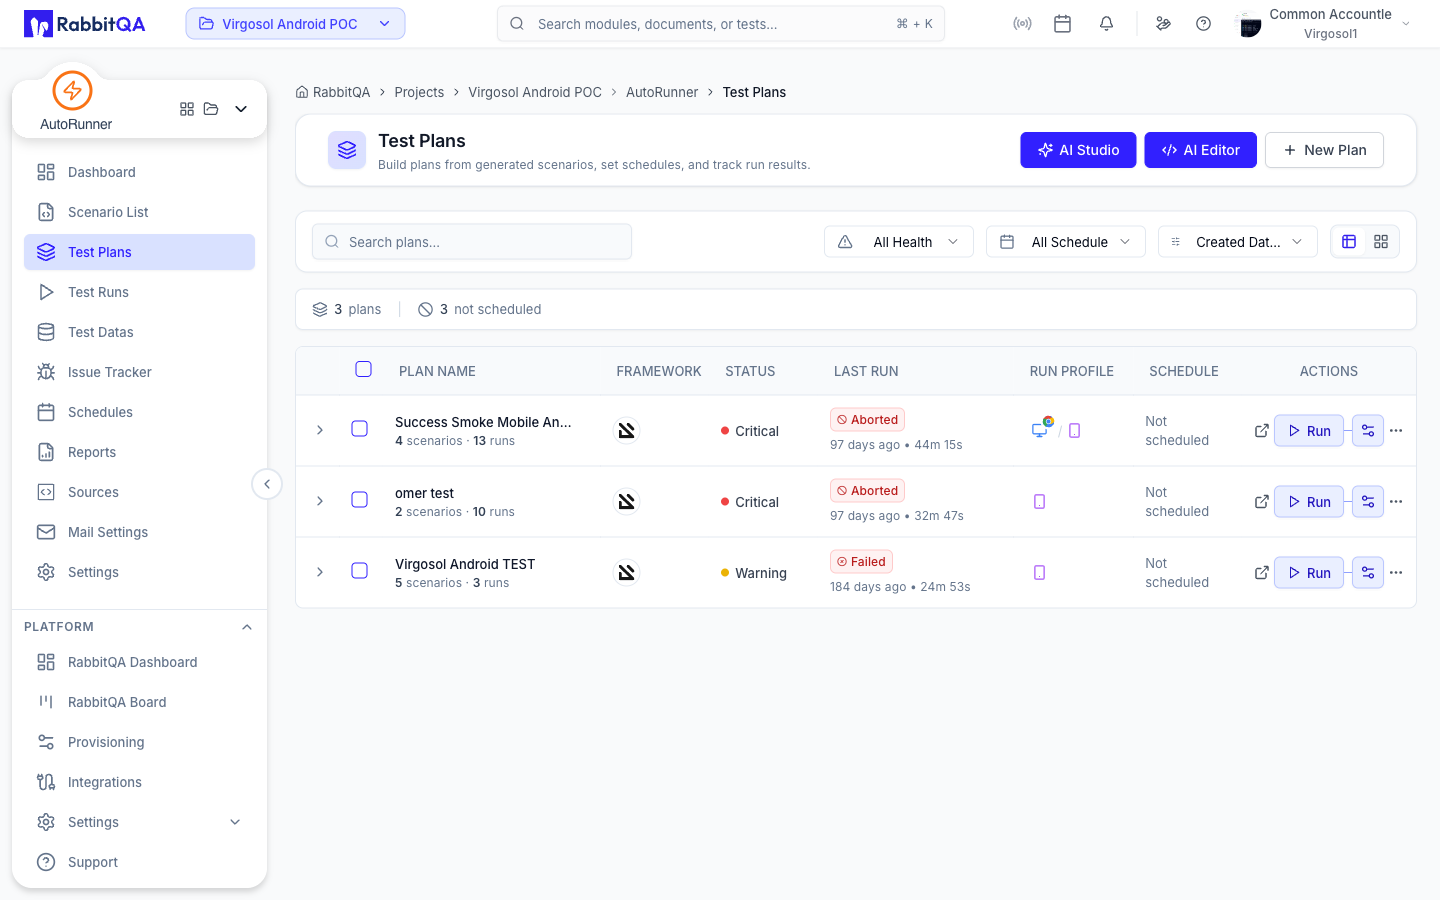
Step 3: Generate Scenarios with AI Studio (Optional)
As an alternative to writing scenarios manually, you can use AI Studio to generate them automatically.
- Inside your project, click the AI Studio tab.
- Describe the feature or user flow you want to test in natural language.
- AI Studio generates Gherkin scenarios based on your description.
- Review the generated scenarios, edit as needed, and add them to your suite.
For a complete guide on AI-powered scenario generation, see AI Studio.
AI Studio is especially useful for creating initial scenario drafts for new features. You can refine the generated scenarios in the Code Editor afterward.
Step 4: Write a BDD Scenario
- Inside your suite, click the Scenarios tab.
- Click New Scenario to open the BDD editor.
- Write your first Gherkin scenario in the Monaco editor:
Feature: User Login

  Scenario: Successful login with valid credentials
    Given I navigate to the login page
    When I enter username "[email protected]"
    And I enter password "SecurePass123"
    And I click the "Sign In" button
    Then I should see the dashboard page
    And the welcome message should display "Hello, Test User"
- Click Save to store the scenario.
For advanced scenario authoring techniques, tags, and the AI-assisted scenario generator, see BDD Scenarios. For code-level editing with syntax highlighting and autocomplete, see Code Editor.
Step 5: Run the Test
- Return to the suite detail page.
- Click the Run button in the toolbar.
- Verify the driver, environment, and parallel execution settings in the confirmation dialog.
- Click Start Run to begin execution.
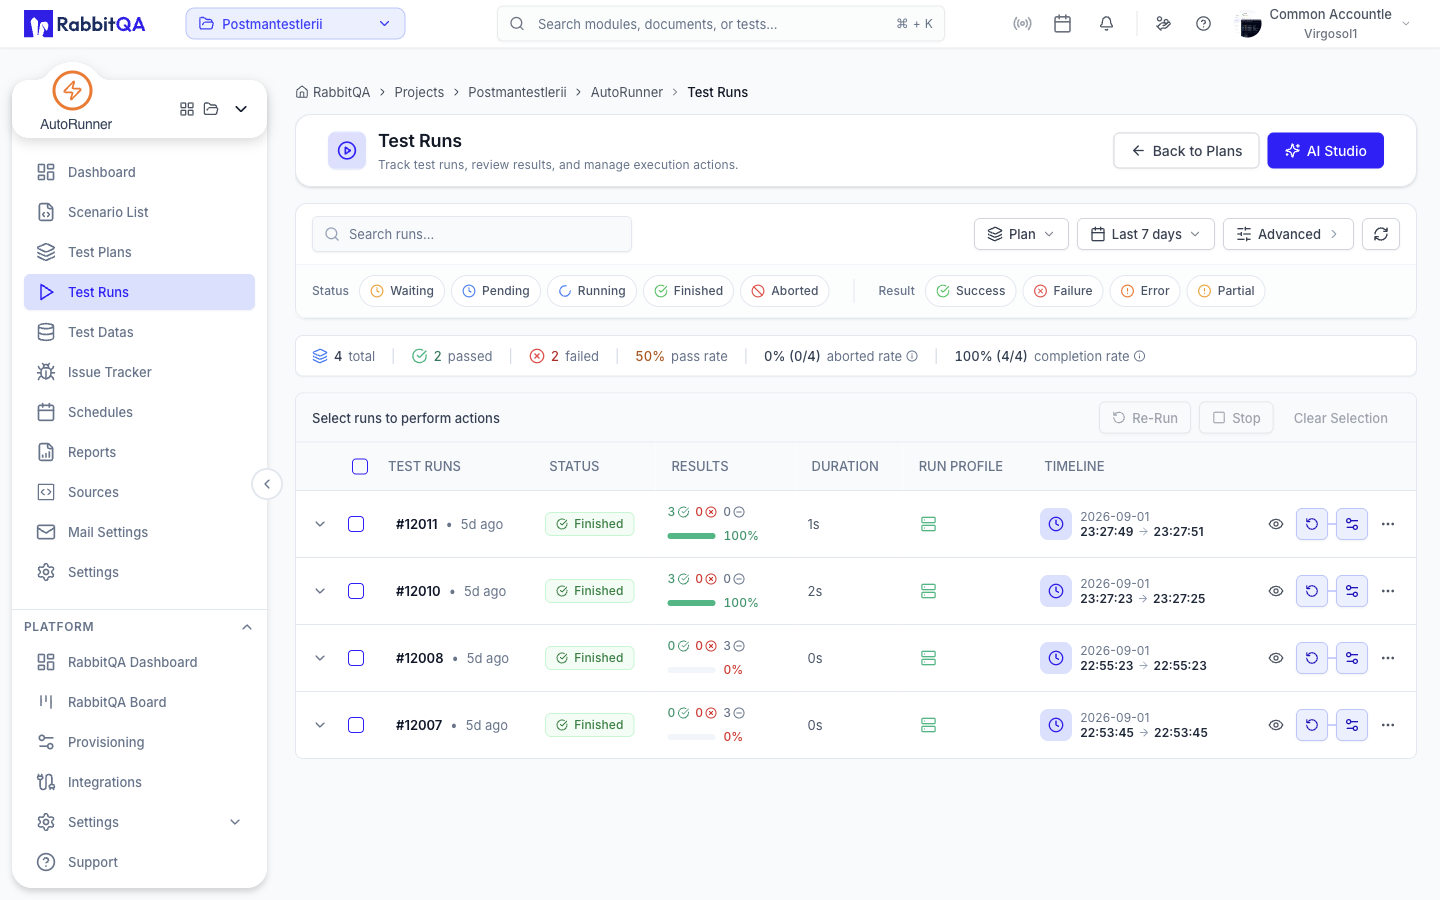
The run status will progress through: PENDING > QUEUED > RUNNING > COMPLETED / FAILED / STOPPED / TIMEOUT.
For detailed run configuration including retries, live monitoring, and parallel execution, see Test Runner.
Step 6: View Results
- Once the run completes, click on the run entry in the Runs tab.
- The run detail page displays pass/fail summary, step-by-step results, logs, screenshots, and performance metrics.
- Click on any failed step to see the error message and stack trace.
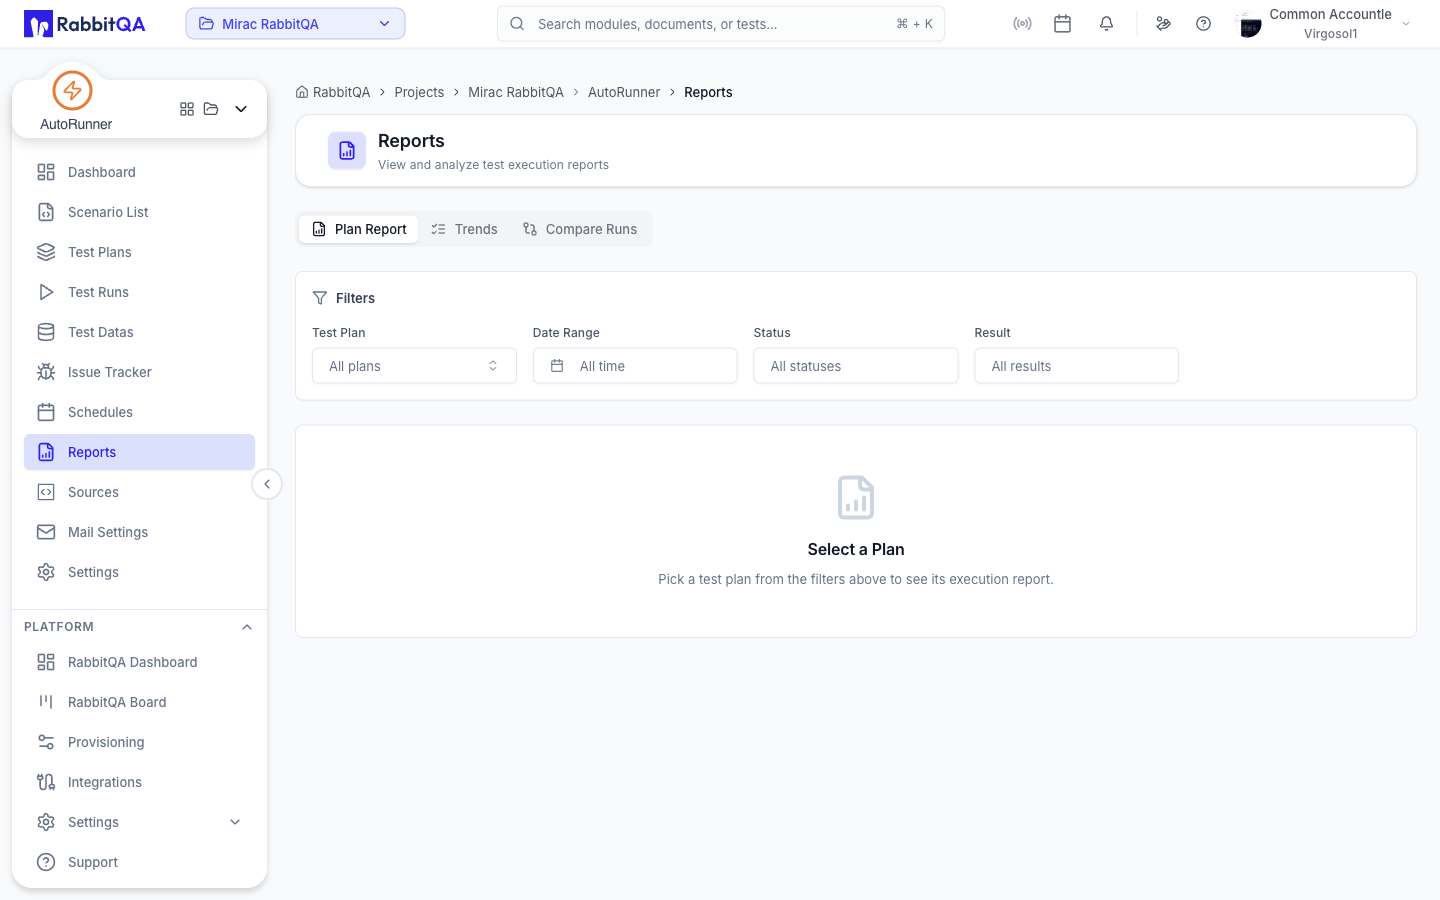
Use the Quick Run dropdown in the Dashboard to start a run directly from the main page without navigating to the suite first.
Troubleshooting
Run stuck in PENDING status
- Verify that the test engine containers are running
- Check the engine configuration in project settings
- Ensure the selected driver is available and properly configured
Run fails immediately with FAILED status
- Open the run logs to check for framework-specific errors
- Verify that your step definitions match the Gherkin steps
- Ensure environment variables and connection strings are correct
Scenarios not appearing in the suite
- Confirm that scenarios are saved (not just drafted)
- Check that the scenario tags match the suite filter criteria
- Refresh the page to reload the scenario list
For comprehensive post-run analysis including step-by-step logs, screenshots, and performance metrics, see Run Details.
Next Steps
- Dashboard — Monitor your test automation metrics
- Test Suites — Configure and manage test suite settings
- AI Studio — Generate test scenarios with AI assistance
- Code Editor — Edit scenarios and step definitions in the Monaco editor
- BDD Scenarios — Learn advanced scenario authoring techniques
- Run Details — Analyze completed runs with detailed logs and metrics
- Test Runners — Register and manage test execution engines
- CI/CD Integration — Connect AutoRunner to your deployment pipeline
- Scheduling — Set up recurring test runs
