Projects
Create, organize, and monitor automation projects across multiple frameworks and project types.
What are AutoRunner Projects?
An AutoRunner project is the top-level container for your test automation effort. Each project is configured with a specific test framework and project type, and contains one or more test suites. Projects track health metrics and provide team access controls.
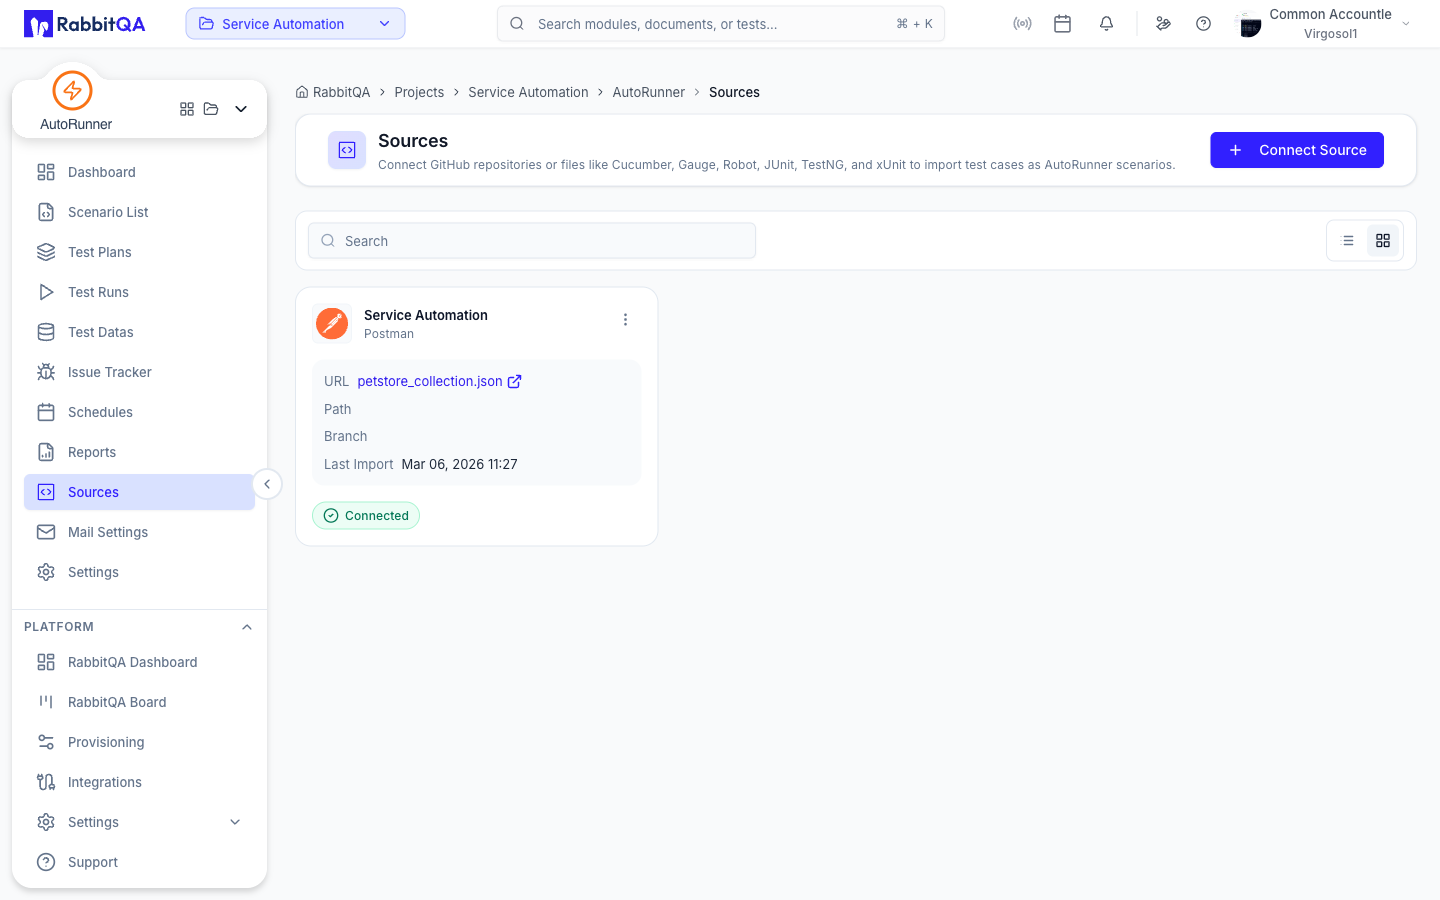
Creating a Project
- Navigate to AutoRunner > Projects.
- Click the Create Project button.
- Fill in the required fields:
| Field | Required | Description |
|---|---|---|
| Project Name | Yes | Unique, descriptive name for the project |
| Framework | Yes | Test framework (Gauge, Cucumber, Postman, Robot, AI Agent, SAP, Oracle, Logo Tiger, Recorder, JUnit, TestNG, xUnit) |
| Project Type | Yes | Application type: Web, Desktop, Mobile, or Service |
| Description | No | Brief description of the project scope |
| Repository URL | No | Git repository URL for source-controlled tests |
| Team Members | No | Assign team members with access to the project |
- Click Create to save.
- Web — Browser-based applications tested with Gauge, Cucumber, Robot, Recorder, or AI Agent
- Desktop — Desktop applications tested with SAP, Oracle, or Logo Tiger
- Mobile — Mobile apps tested via Appium-compatible frameworks
- Service — APIs and microservices tested with Postman, Robot, JUnit, TestNG, or xUnit
View Modes
AutoRunner offers two ways to browse your projects:
Card Grid View
Displays projects as cards with key metrics visible at a glance:
- Project name and framework icon
- Pass rate percentage with color indicator
- Last run date and status
- Suite count
Table View
A data-dense table layout ideal for managing large numbers of projects. Columns include project name, framework, type, pass rate, total runs, last run date, and status.
Toggle between views using the Grid/Table buttons in the toolbar.
Project Health KPIs
Each project is assigned a health status based on recent test results:
| Health Status | Criteria | Color |
|---|---|---|
| Healthy | Pass rate ≥ 90% with recent activity | Green |
| At Risk | Pass rate between 70–89% | Yellow |
| Critical | Pass rate below 70% or consecutive failures | Red |
| Inactive | No test runs in the last 30 days | Gray |
The KPI row at the top of the Projects page aggregates these statuses:
- Total number of Healthy, At Risk, Critical, and Inactive projects
- Overall pass rate across all projects
- Total run count for the selected time period
Project Detail Page
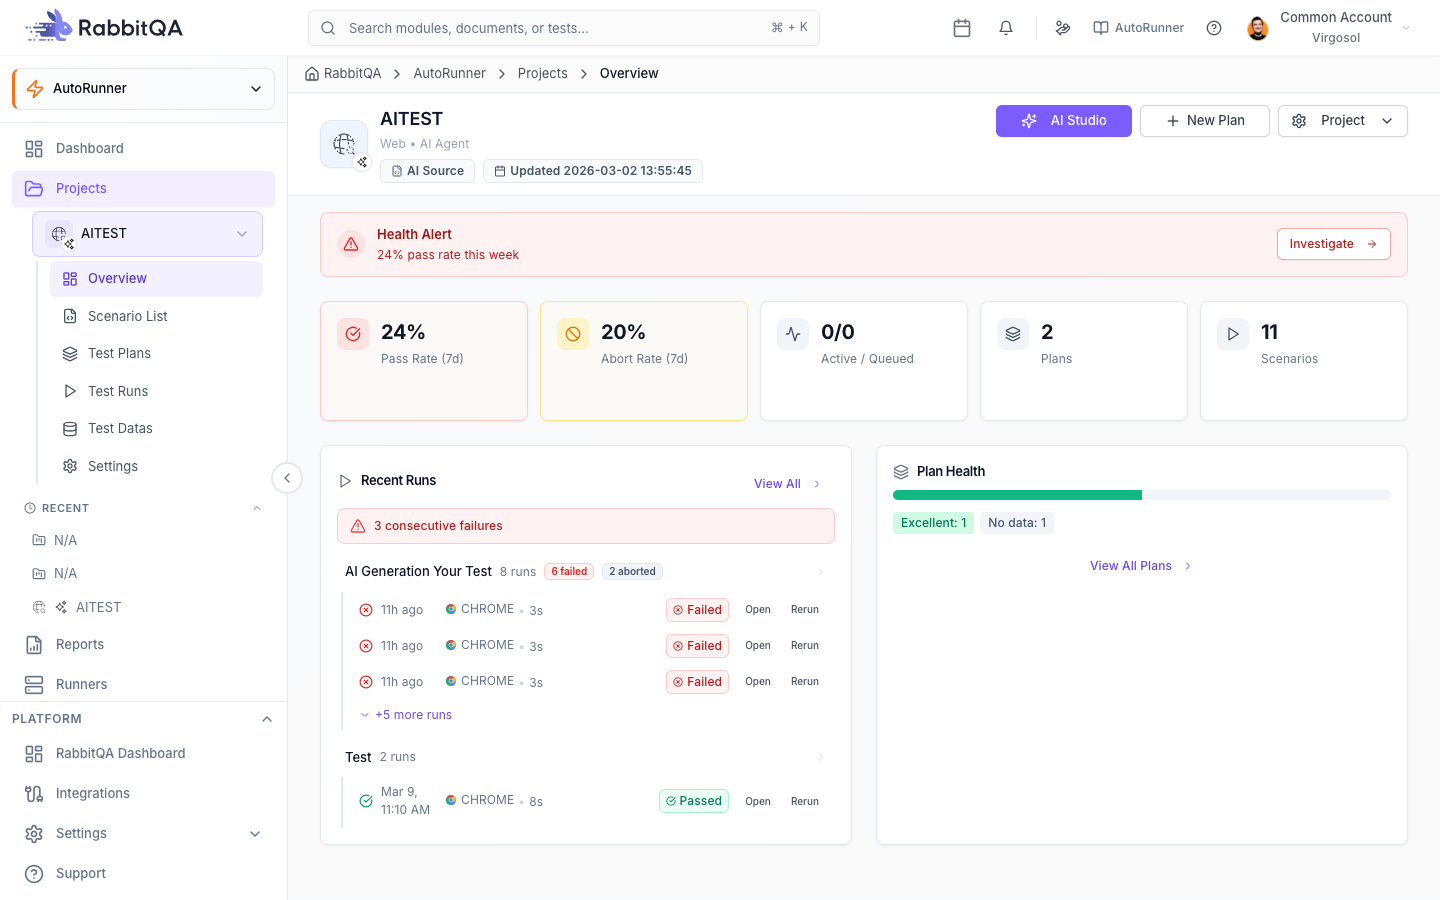
Click a project card to open the detail page. The detail page provides 7 tabs for managing all aspects of the project:
| Tab | Description |
|---|---|
| Overview | Project health KPIs, recent activity, and quick actions |
| Suites | List of test suites within the project. See Test Suites for details |
| Scenarios | All BDD scenarios across suites, with search and tag filtering |
| Runs | Run history with status, duration, and pass rate. Click any run for Run Details |
| Settings | Project configuration (see sub-tabs below) |
| Variables | Global and scoped variables for test execution |
| Environments | Environment profiles with variable overrides |
Project Settings
The Settings tab contains three sub-tabs:
| Sub-Tab | Description |
|---|---|
| Run Profiles | Configure default driver, parallel execution, retries, and timeout settings |
| Source | Configure SCM integration (Git URL, branch, credentials) |
| Access & Notifications | Manage team member roles, permissions, and notification preferences |
Variables
The Variables tab allows you to define key-value pairs that are injected into test scenarios at runtime.
| Variable Type | Description |
|---|---|
| Global | Available to all suites and scenarios within the project |
| Scoped | Bound to a specific suite or environment |
| Encrypted | Sensitive values (passwords, tokens) stored encrypted and masked in the UI |
Use the visibility toggle to show or hide encrypted variable values. Encrypted variables are never exposed in logs or reports.
When the same variable name exists at multiple levels, the resolution order is: Environment override > Scoped variable > Global variable.
Environments
The Environments tab lets you define multiple execution profiles for different deployment stages.
- Create profiles for each stage (e.g., Development, Staging, Production)
- Per-environment variable overrides — Set different values for base URLs, credentials, or API keys per environment
- Default environment selection — Choose which environment is pre-selected when starting a run
- Environment switching — Select the target environment at run time from the run configuration dialog
Define at least a Development and Staging environment for each project. Use environment-scoped variables to manage different base URLs and credentials without modifying test scenarios.
Team Access
Control who can view, edit, and execute tests within a project:
- Owner — Full control including deletion
- Editor — Create, edit, and run suites and scenarios
- Viewer — Read-only access to runs and reports
Assign team members during project creation or from the Settings > Access & Notifications sub-tab.
Next Steps
- Test Suites — Organize scenarios into configurable test suites
- AI Studio — Generate test scenarios with AI assistance
- Code Editor — Edit scenarios and step definitions in the Monaco editor
- BDD Scenarios — Write test scenarios for your project
- Test Runner — Execute tests and monitor results
- Test Runners — Register and manage test execution engines
- Scheduling — Set up recurring runs for your project
