Generate Product Backlog Items
The Generation Wizard guides you through the process of creating Product Backlog Items using AI.
Step 1: File Selection
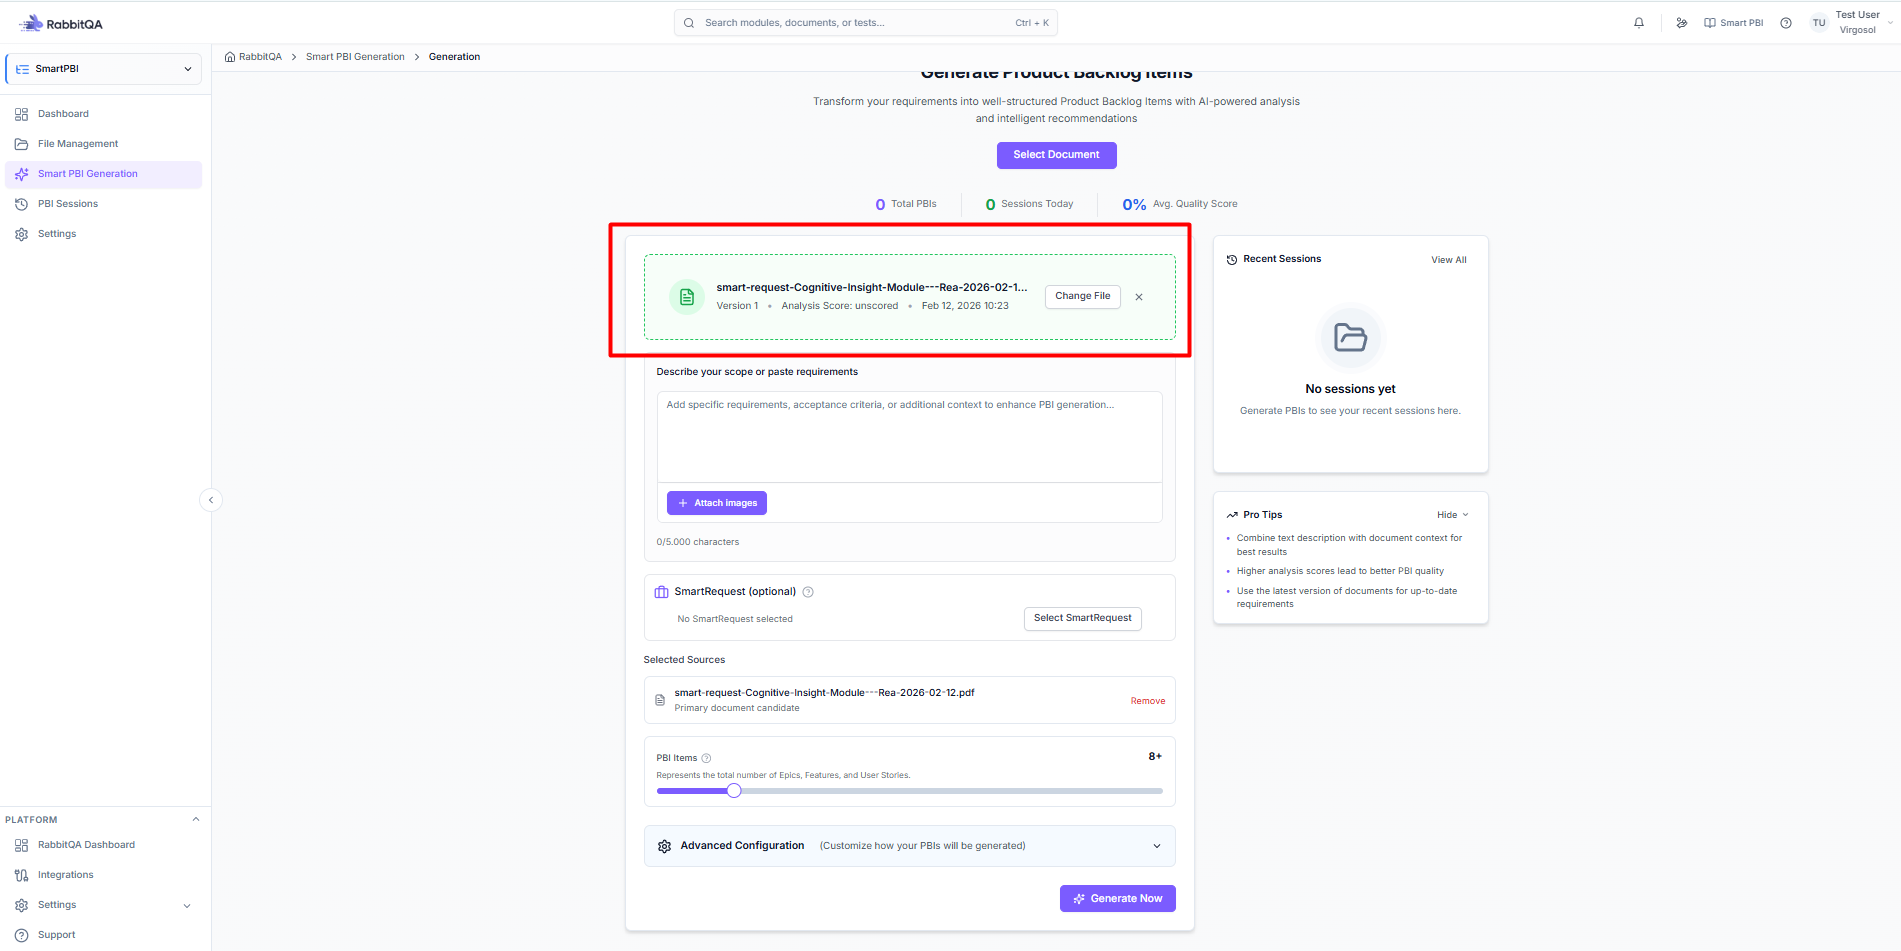
Document Upload
Upload requirement documents:
- Supported Formats: PDF, DOCX, DOC, TXT, RTF
- File Size: Up to 10MB per file
- Multiple Files: Upload several documents at once
How to upload:
- Click the upload area or drag and drop files
- Wait for processing confirmation
- Files appear in the selected list
Text Input
Paste requirements directly:
- Click the Text tab
- Paste your content in the text area
- Supports rich text and formatting
Image Input
Add visual references:
- Screenshots - Application mockups
- Wireframes - Design documents
- Diagrams - Flow charts, architecture
Supported formats: PNG, JPG, JPEG, GIF, WebP
SmartRequest Source
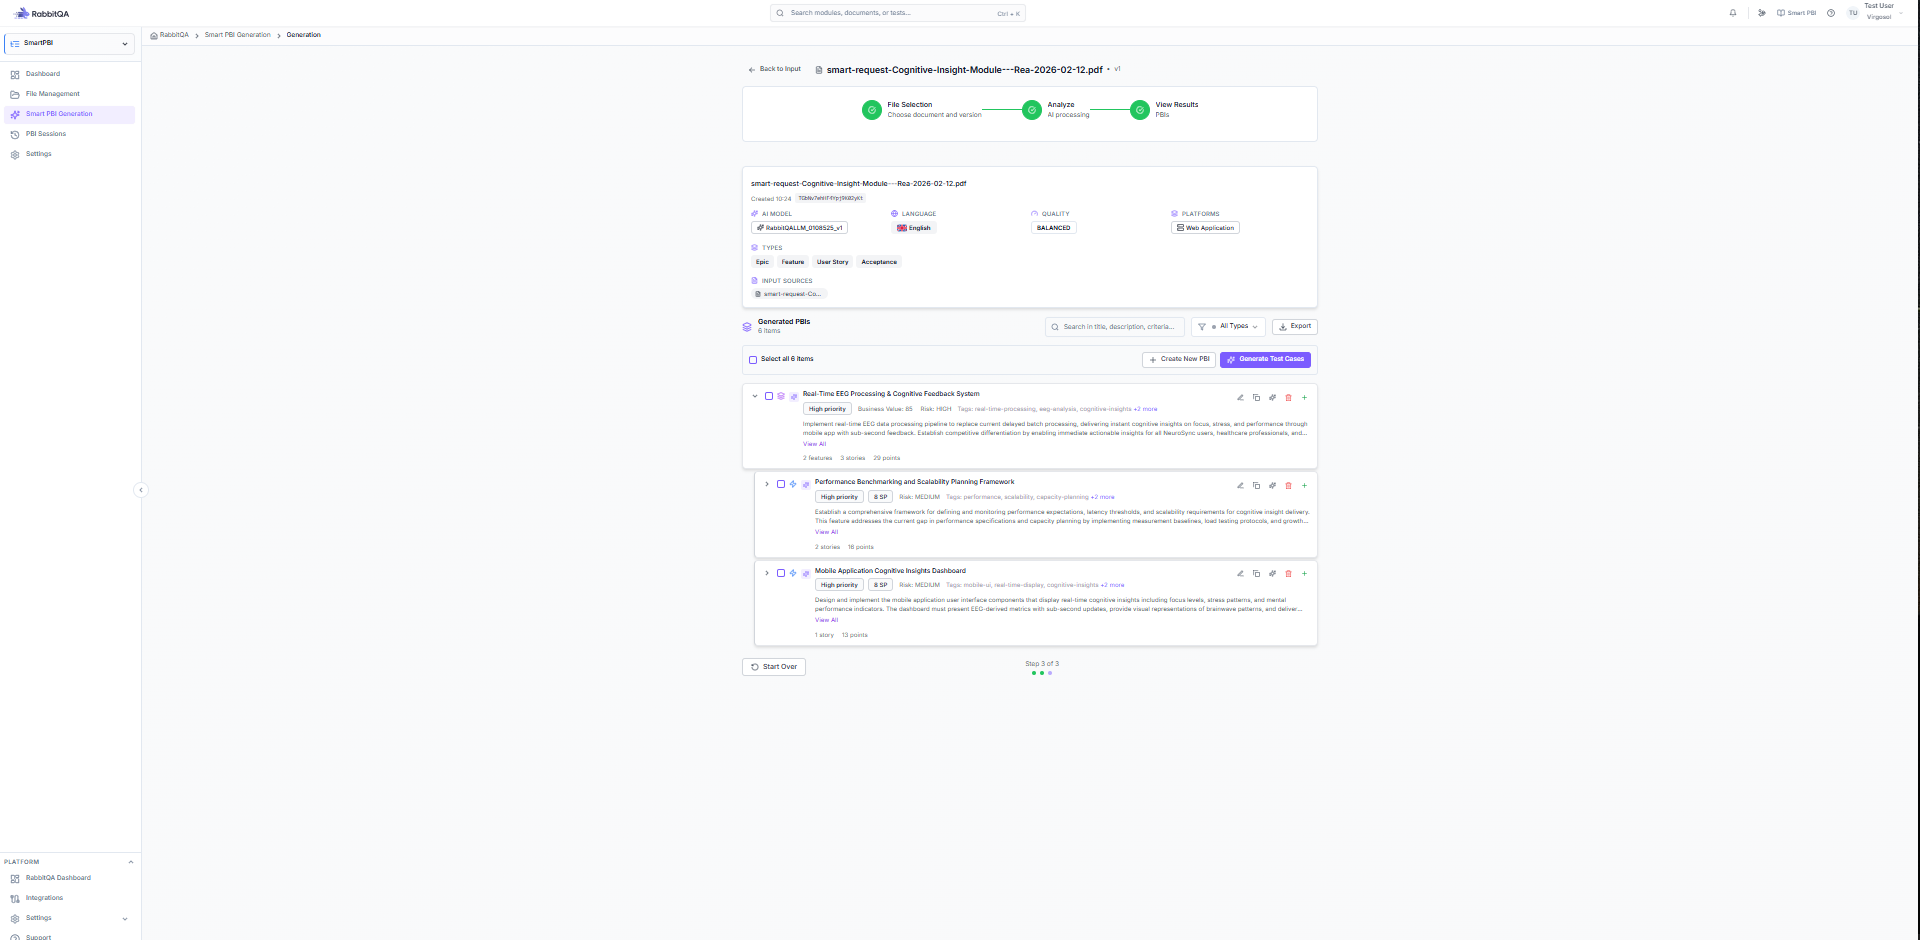
Use approved SmartRequest data:
- Click the SmartRequest tab
- Select from available requests
- Choose data fields to include
SmartRequest data field options (core content, additional context) are configured in Settings.
Step 2: Configuration
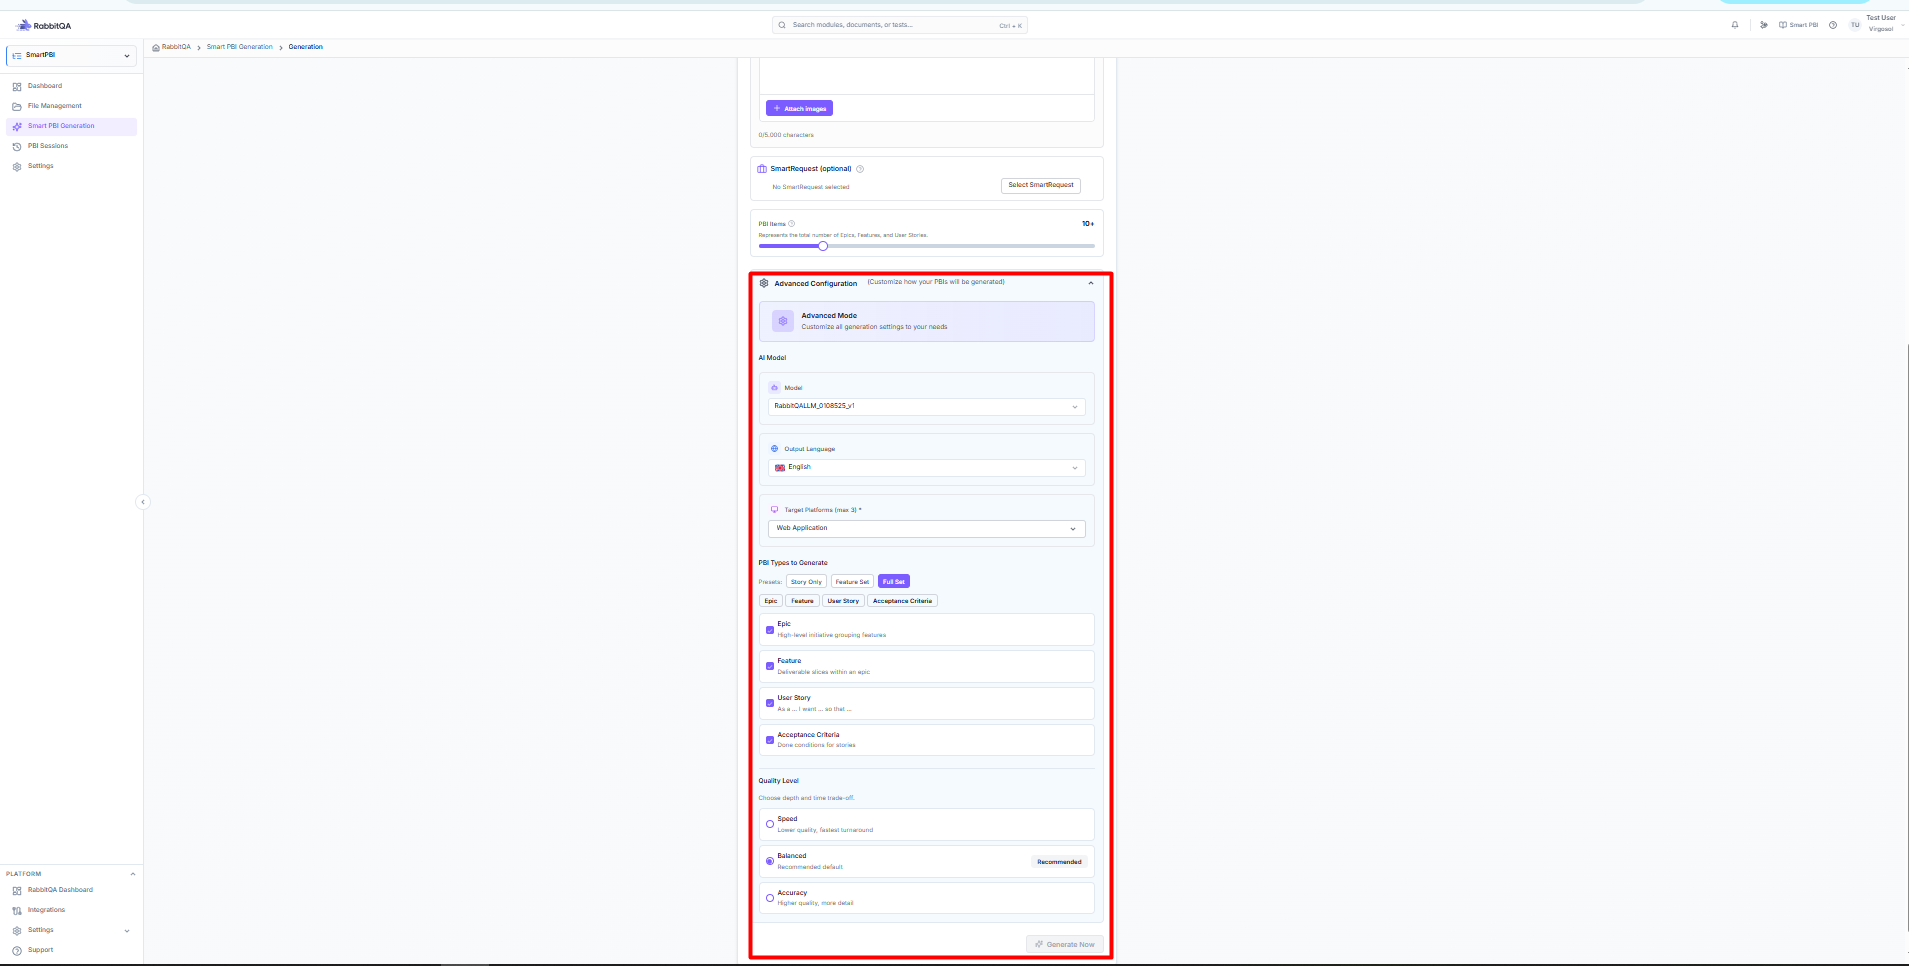
AI Model Selection
Choose the AI model for generation:
- Default company model
- Custom configured models
- Different models for different use cases
Language Settings
Select output language:
- Turkish - PBIs in Turkish
- English - PBIs in English
Platform Selection
Choose target platform(s):
- Web Application
- Mobile Application
- API / Backend
- Desktop Application
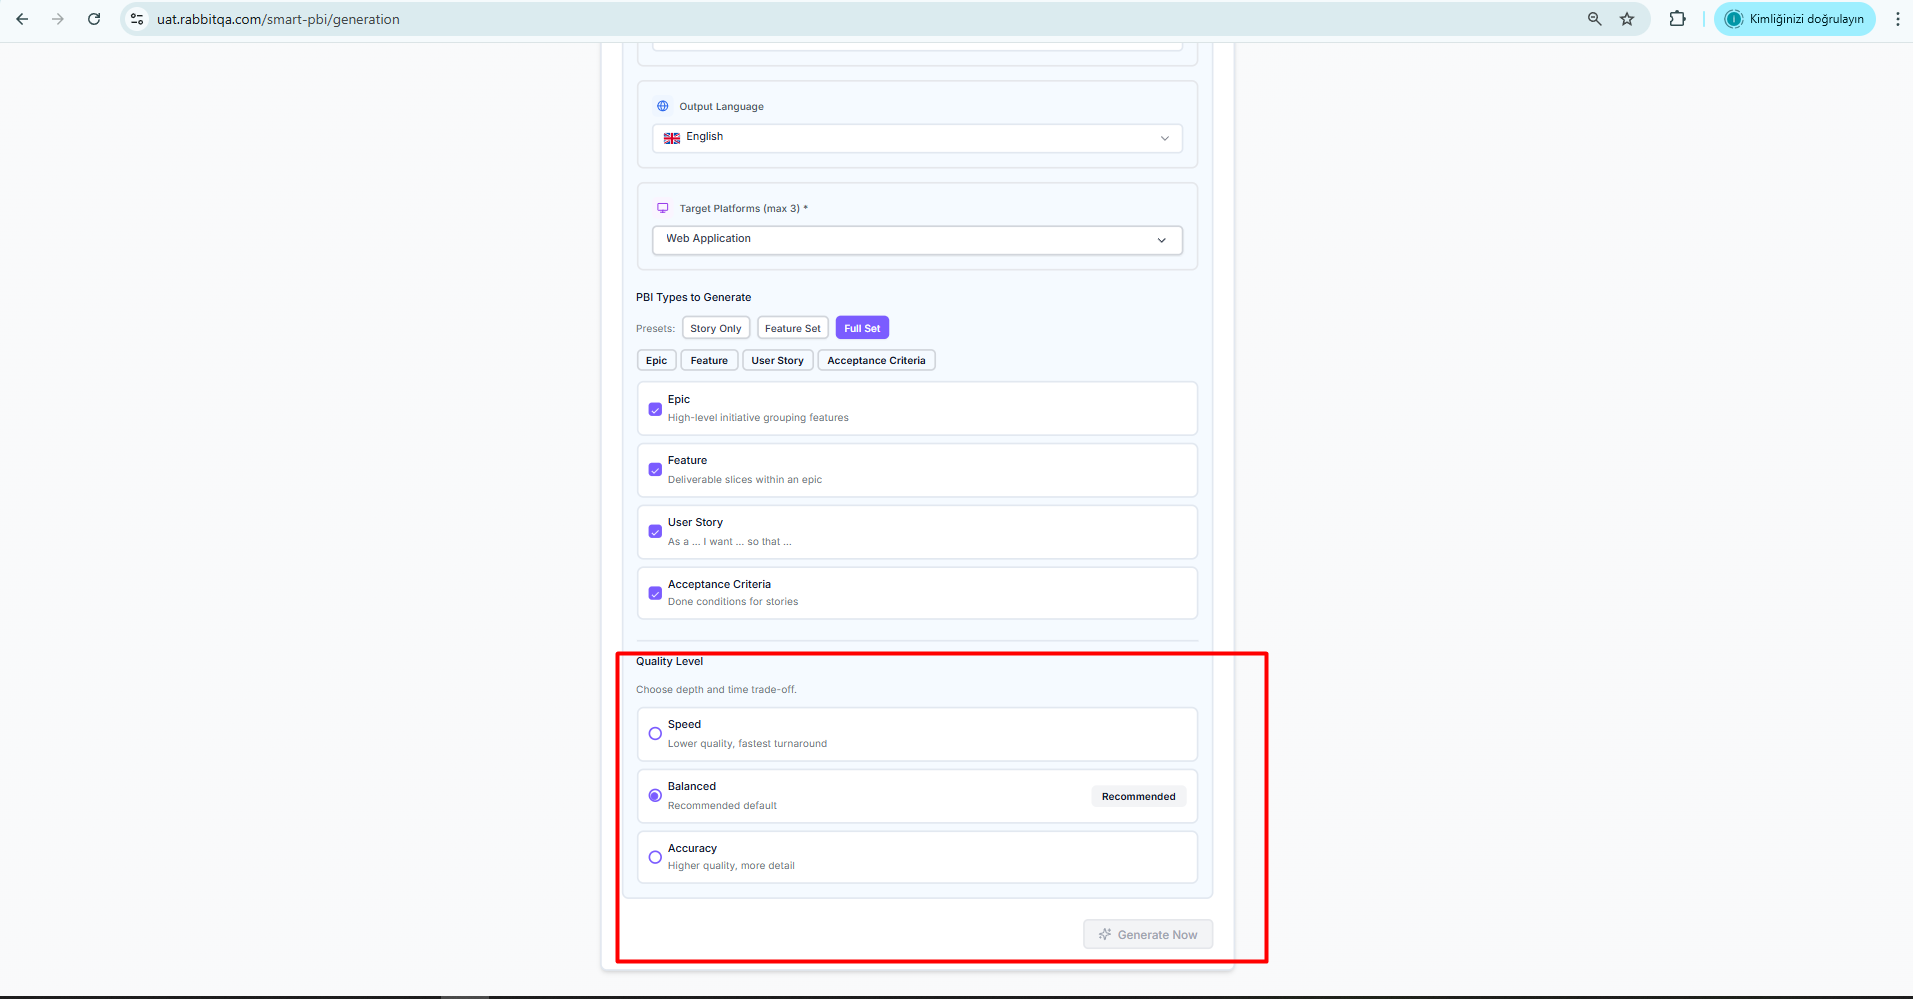
PBI Types
Select which PBI types to generate (Epic, Feature, User Story, Acceptance Criteria). Type definitions and recommended combinations are described in Settings.
Quantity and Quality
Configure the number of PBIs to generate (Auto or Manual mode) and select a quality level (Speed, Balanced, or Quality). For details on quantity ranges and quality level guidance, see Settings.
Step 3: Analysis
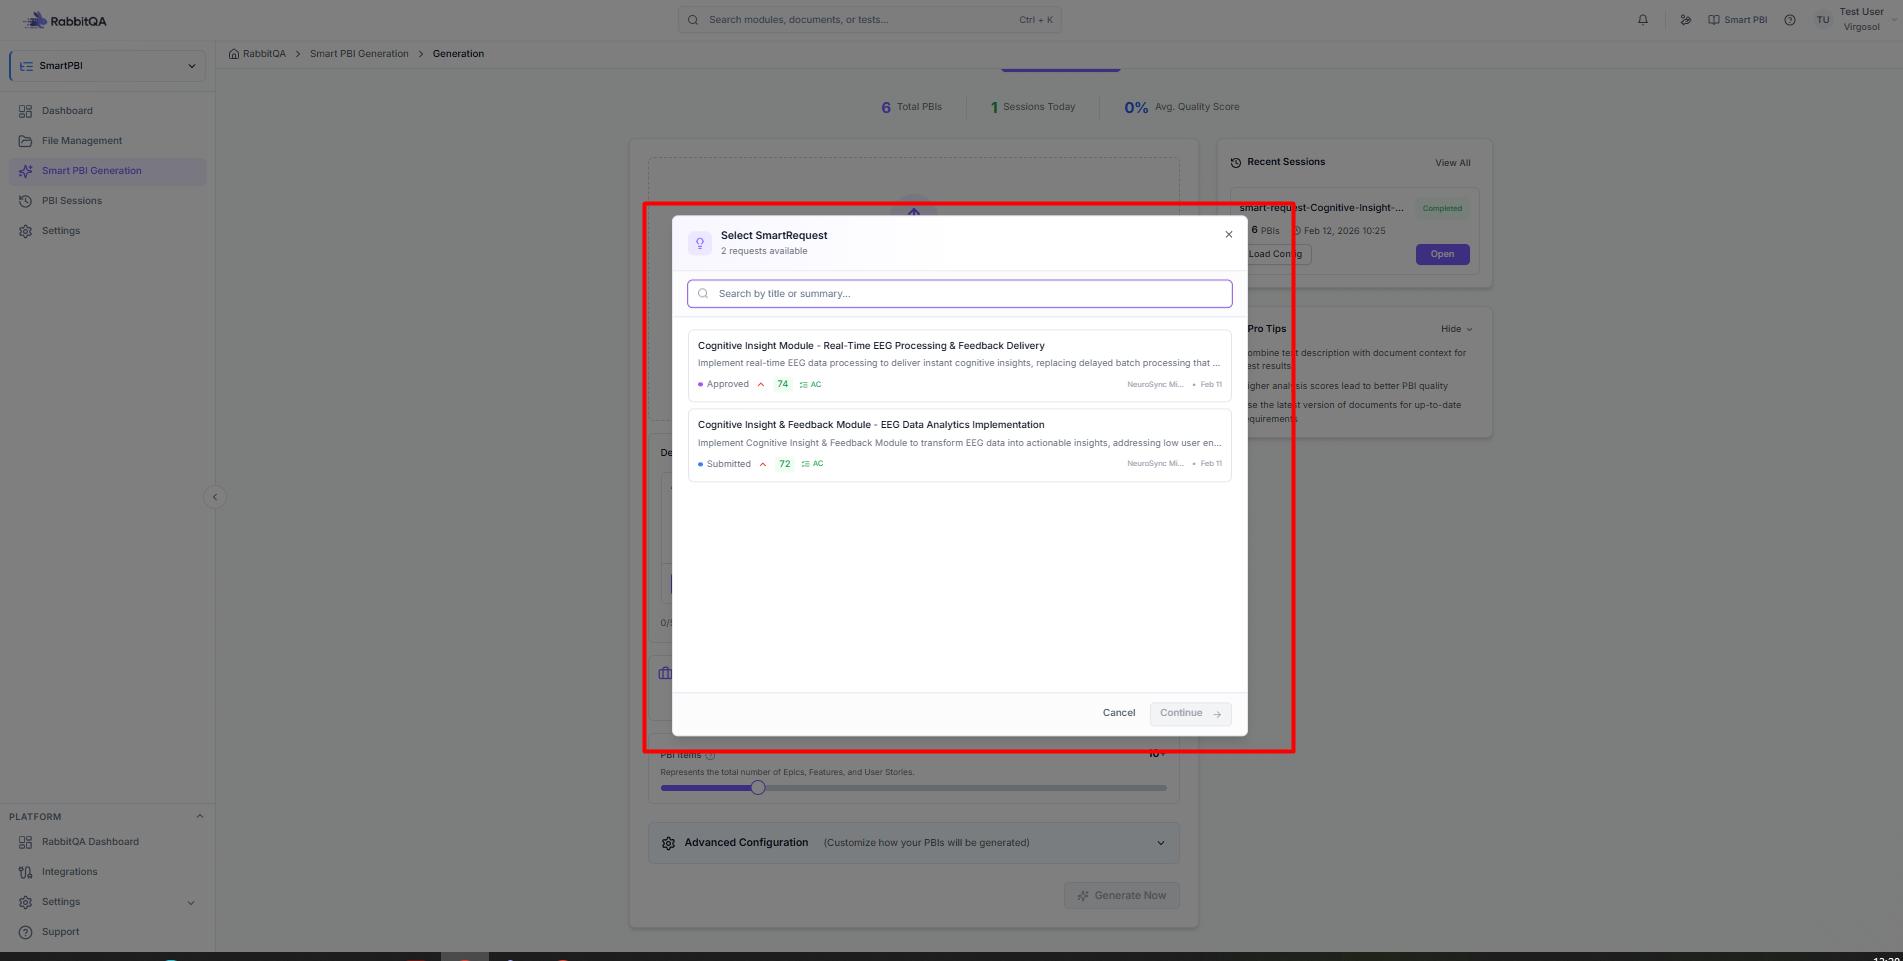
During this step, the AI processes your inputs:
Processing Stages
- Document Parsing - Extracting text and structure
- Content Analysis - Understanding requirements
- PBI Generation - Creating backlog items
- Hierarchy Building - Organizing structure
Progress Indicators
- Real-time progress bar
- Current processing stage
- Estimated time remaining
What the AI Analyzes
- Business objectives and goals
- User needs and pain points
- Technical requirements
- Acceptance criteria patterns
- Dependencies and relationships
Step 4: Results
Viewing Generated PBIs
List View
All PBIs in a flat list:
- Filter by type (Epic, Feature, Story, AC)
- Search within results
- Sort by various criteria
Hierarchical View
Nested structure showing relationships:
Epic: User Authentication
   Feature: Login System
      Story: As a user, I want to login...
         AC: System accepts valid credentials
         AC: Error shown for invalid credentials
      Story: As a user, I want to reset password...
   Feature: Registration
      Story: As a new user, I want to register...
Editing PBIs
Click any PBI to edit:
- Title - Update the PBI name
- Description - Modify content
- Type - Change PBI type
- Acceptance Criteria - Add/edit/remove
Filtering Results
| Filter | Description |
|---|---|
| Type | Show specific PBI types |
| Search | Find by keyword |
| Status | Filter by completion |
Exporting Results
Export to Excel
- Click Export button
- Select Excel format
- Choose columns to include
- Download the file
Export to PDF
- Click Export button
- Select PDF format
- Include/exclude sections
- Generate document
Export to Integration
When integrations are configured:
- Click Export to Jira/Azure DevOps
- Map fields if needed
- Confirm creation
Tips for Better Results
Input Quality
- Provide clear, specific requirements
- Include user context and personas
- Mention technical constraints
- Add acceptance criteria examples
Configuration Tips
- Start with Balanced quality for most use cases
- Use Speed for initial brainstorming
- Use Quality for final documentation
- Enable all relevant platforms
Review Process
- Always review generated content
- Verify acceptance criteria completeness
- Check hierarchy organization
- Refine story point estimates
