Generate Product Backlog Items
The Generation Wizard guides you through the process of creating Product Backlog Items using AI.
Step 1: File Selection
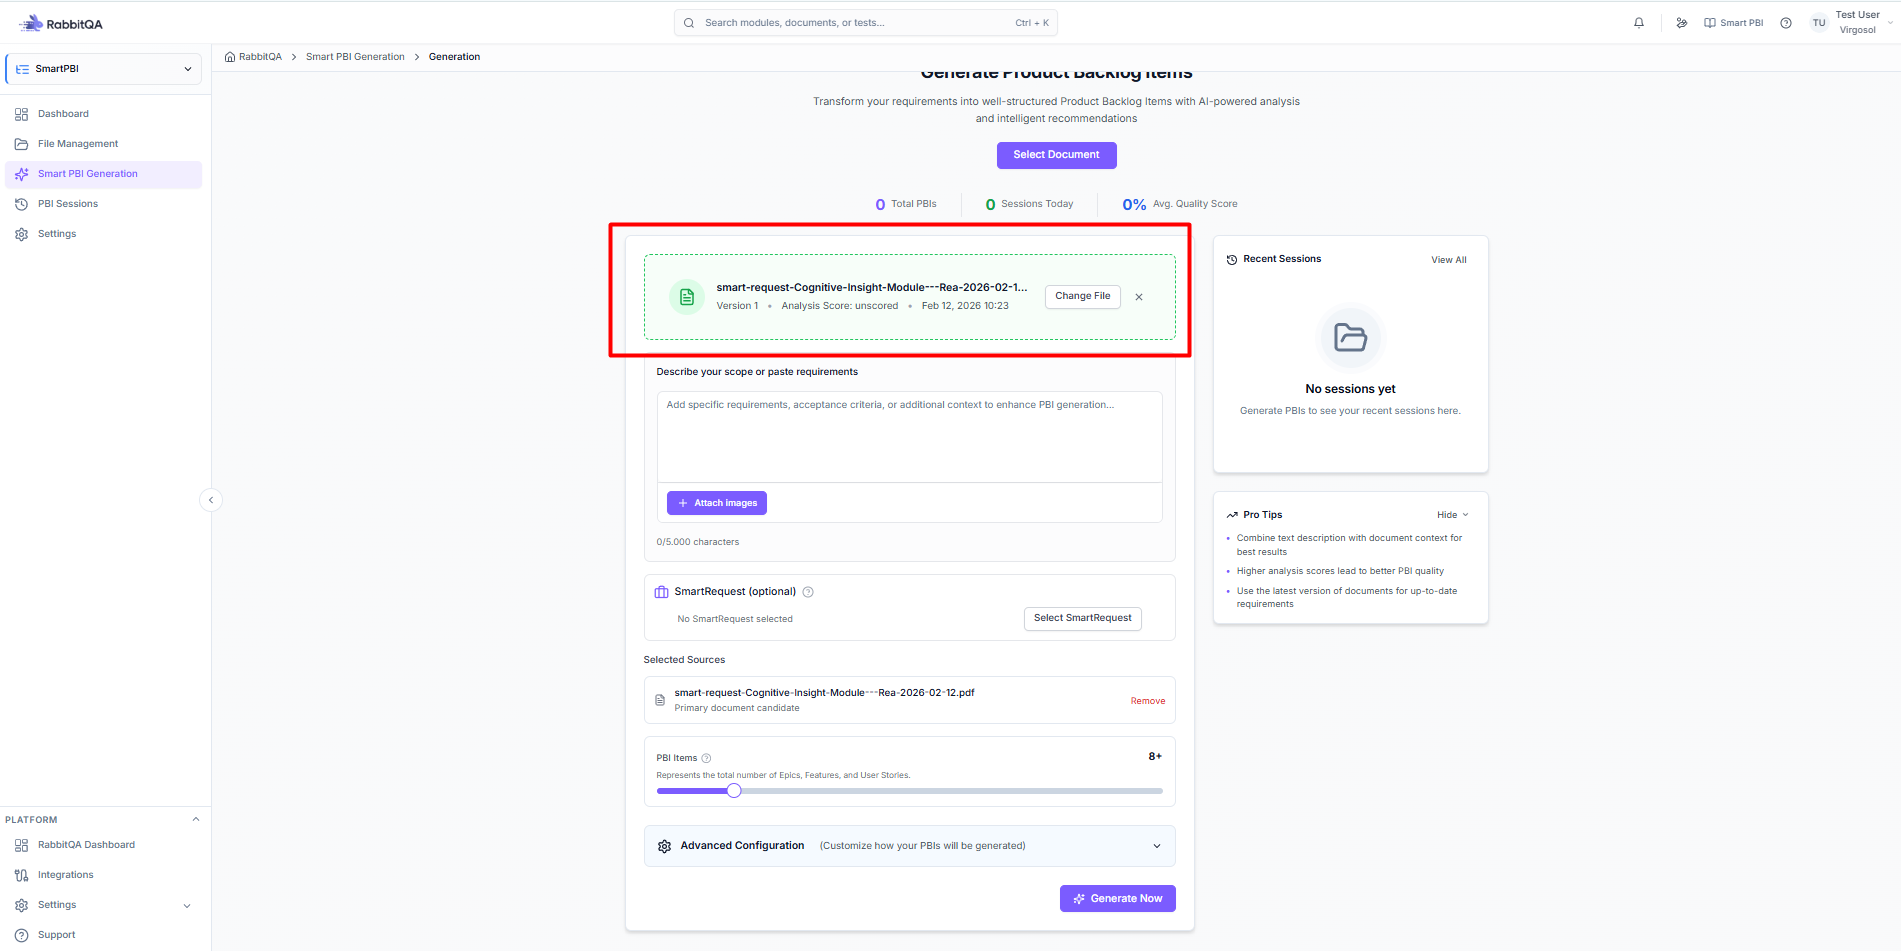
Document Upload
Upload requirement documents:
- Supported Formats: PDF, DOCX, DOC, TXT, RTF
- File Size: Up to 10MB per file
- Multiple Files: Upload several documents at once
How to upload:
- Click the upload area or drag and drop files
- Wait for processing confirmation
- Files appear in the selected list
Text Input
Paste requirements directly:
- Click the Text tab
- Paste your content in the text area
- Supports rich text and formatting
Image Input
Add visual references:
- Screenshots - Application mockups
- Wireframes - Design documents
- Diagrams - Flow charts, architecture
Supported formats: PNG, JPG, JPEG, GIF, WebP
SmartRequest Source
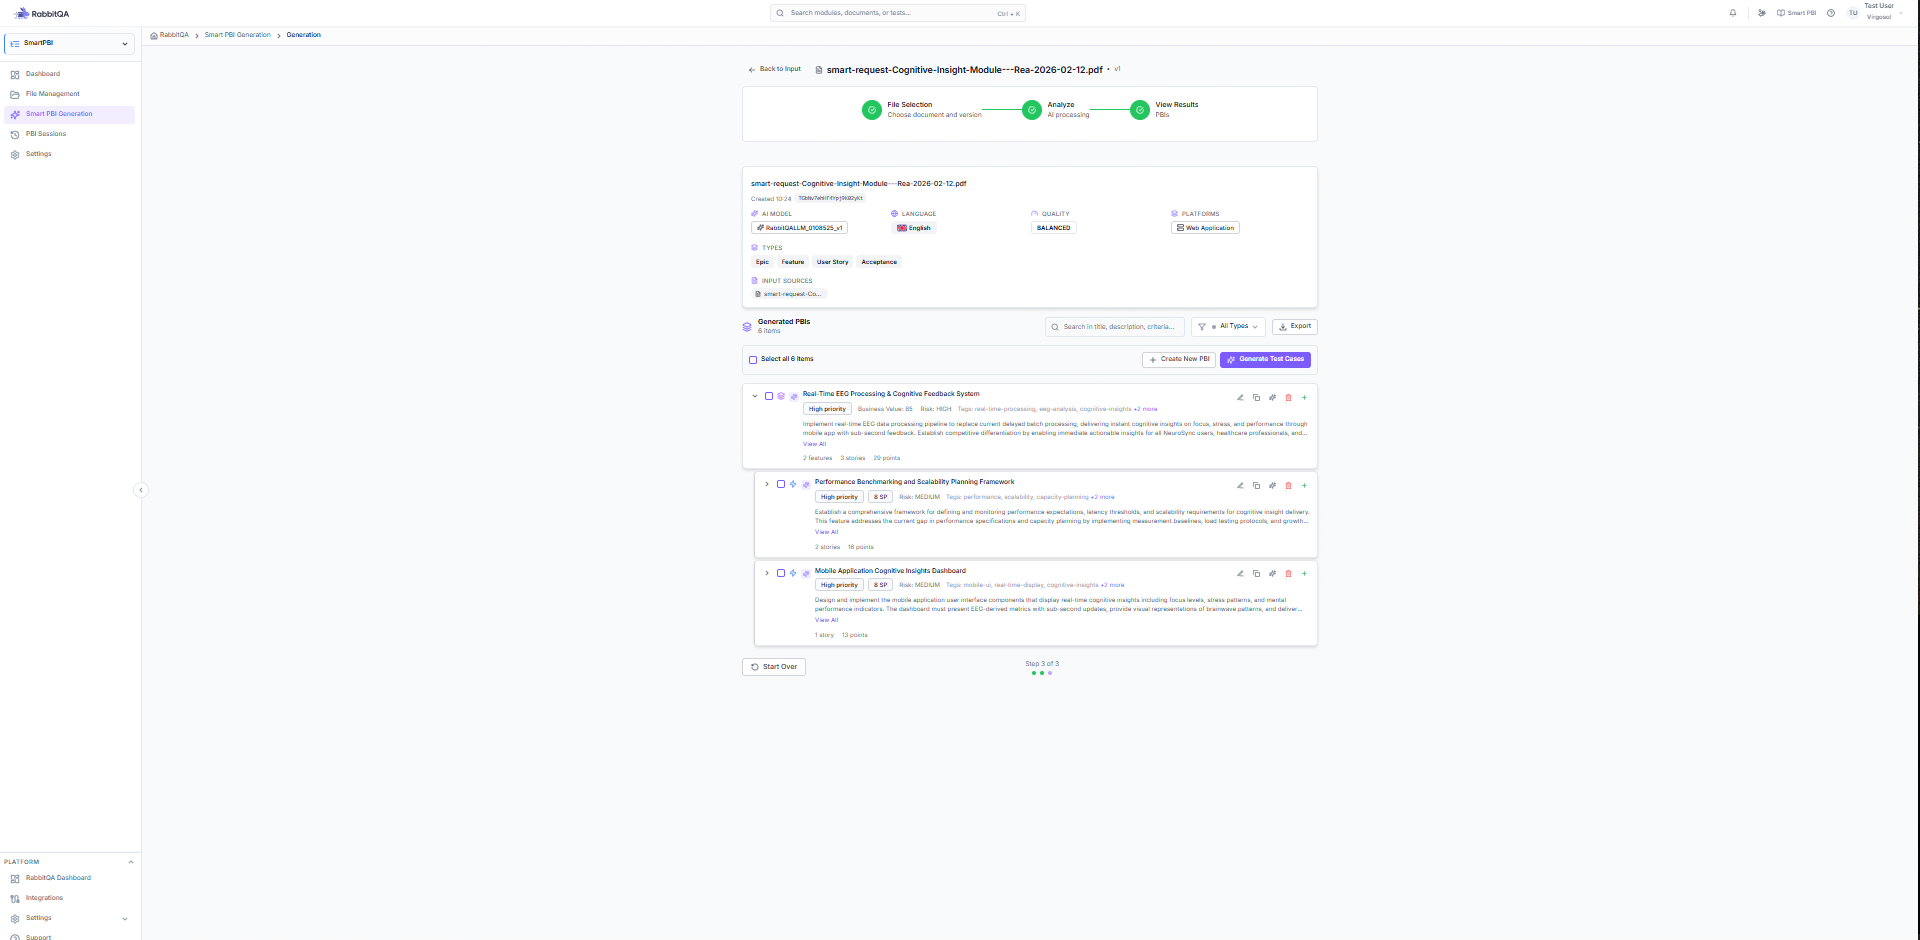
Use approved SmartRequest data:
- Click the SmartRequest tab
- Select from available requests
- Choose data fields to include:
Core Content (Default):
- ☑️ Summary
- ☑️ Description
- ☑️ Acceptance Criteria
- ☑️ Custom Field Answers
Additional Context (Optional):
- ☐ Recommended Actions
- ☐ Original Description
- ☐ Evaluation Q&A
- ☐ Attached Documents
- ☐ Priority Context
Step 2: Configuration
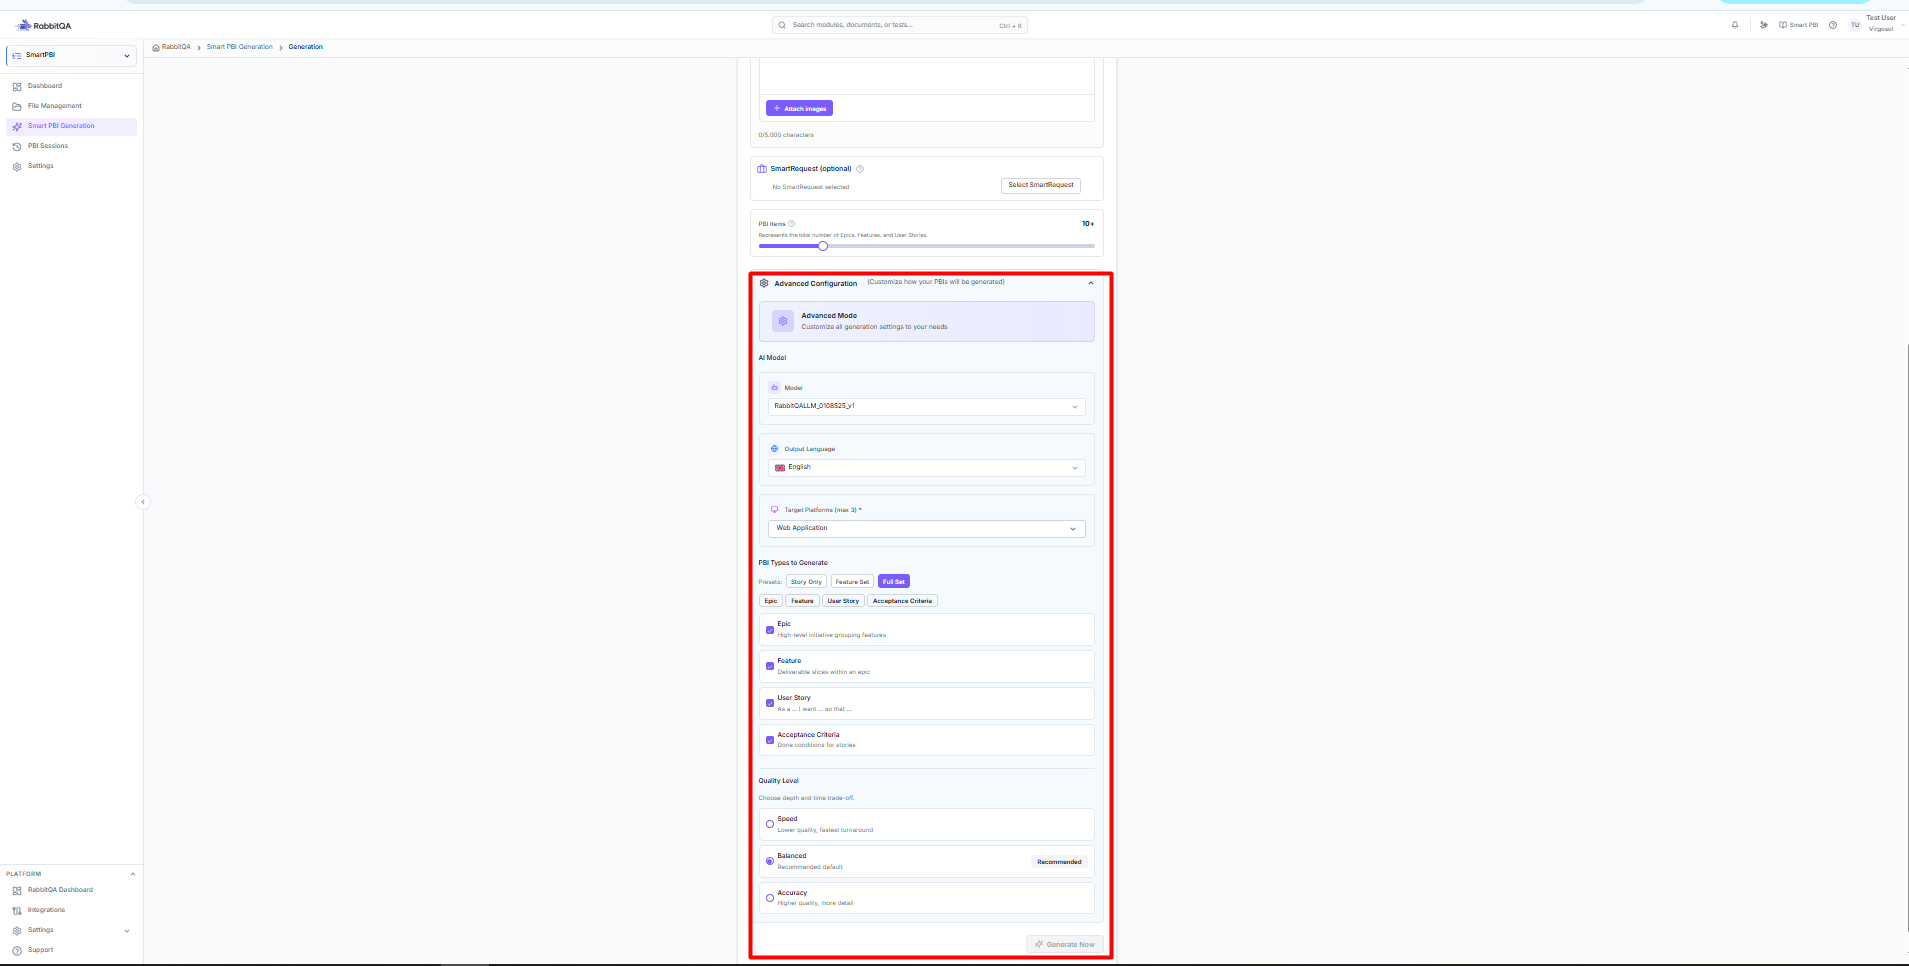
AI Model Selection
Choose the AI model for generation:
- Default company model
- Custom configured models
- Different models for different use cases
Language Settings
Select output language:
- Turkish - PBIs in Turkish
- English - PBIs in English
Platform Selection
Choose target platform(s):
- ☑️ Web Application
- ☑️ Mobile Application
- ☑️ API / Backend
- ☑️ Desktop Application
PBI Types
Select which types to generate:
- ☑️ Epic - High-level objectives
- ☑️ Feature - Distinct functionalities
- ☑️ User Story - Specific requirements
- ☑️ Acceptance Criteria - Completion conditions
Quantity Settings
Specify PBI counts:
- Auto - AI determines appropriate quantity
- Manual - Set specific numbers per type
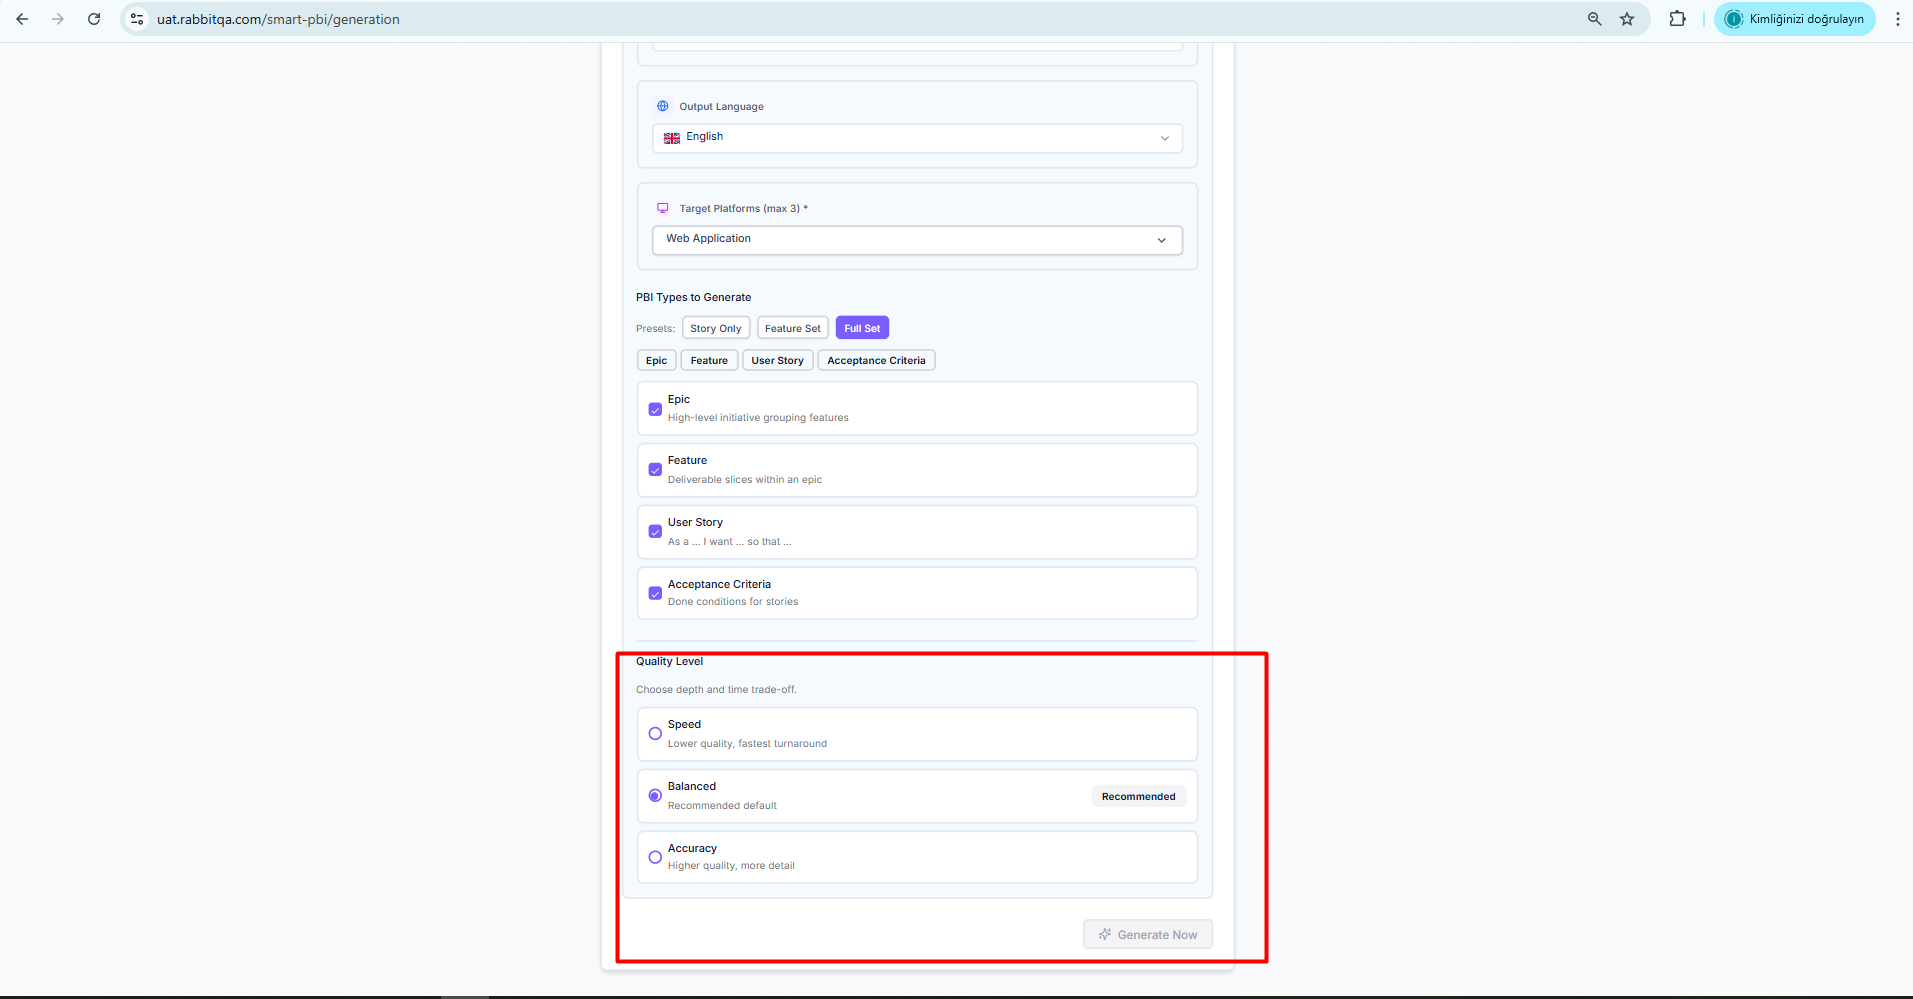
Quality Level
| Level | Processing Time | Output Detail |
|---|---|---|
| Speed | ~30 seconds | Basic PBIs |
| Balanced | ~1 minute | Standard detail |
| Quality | ~2 minutes | Comprehensive |
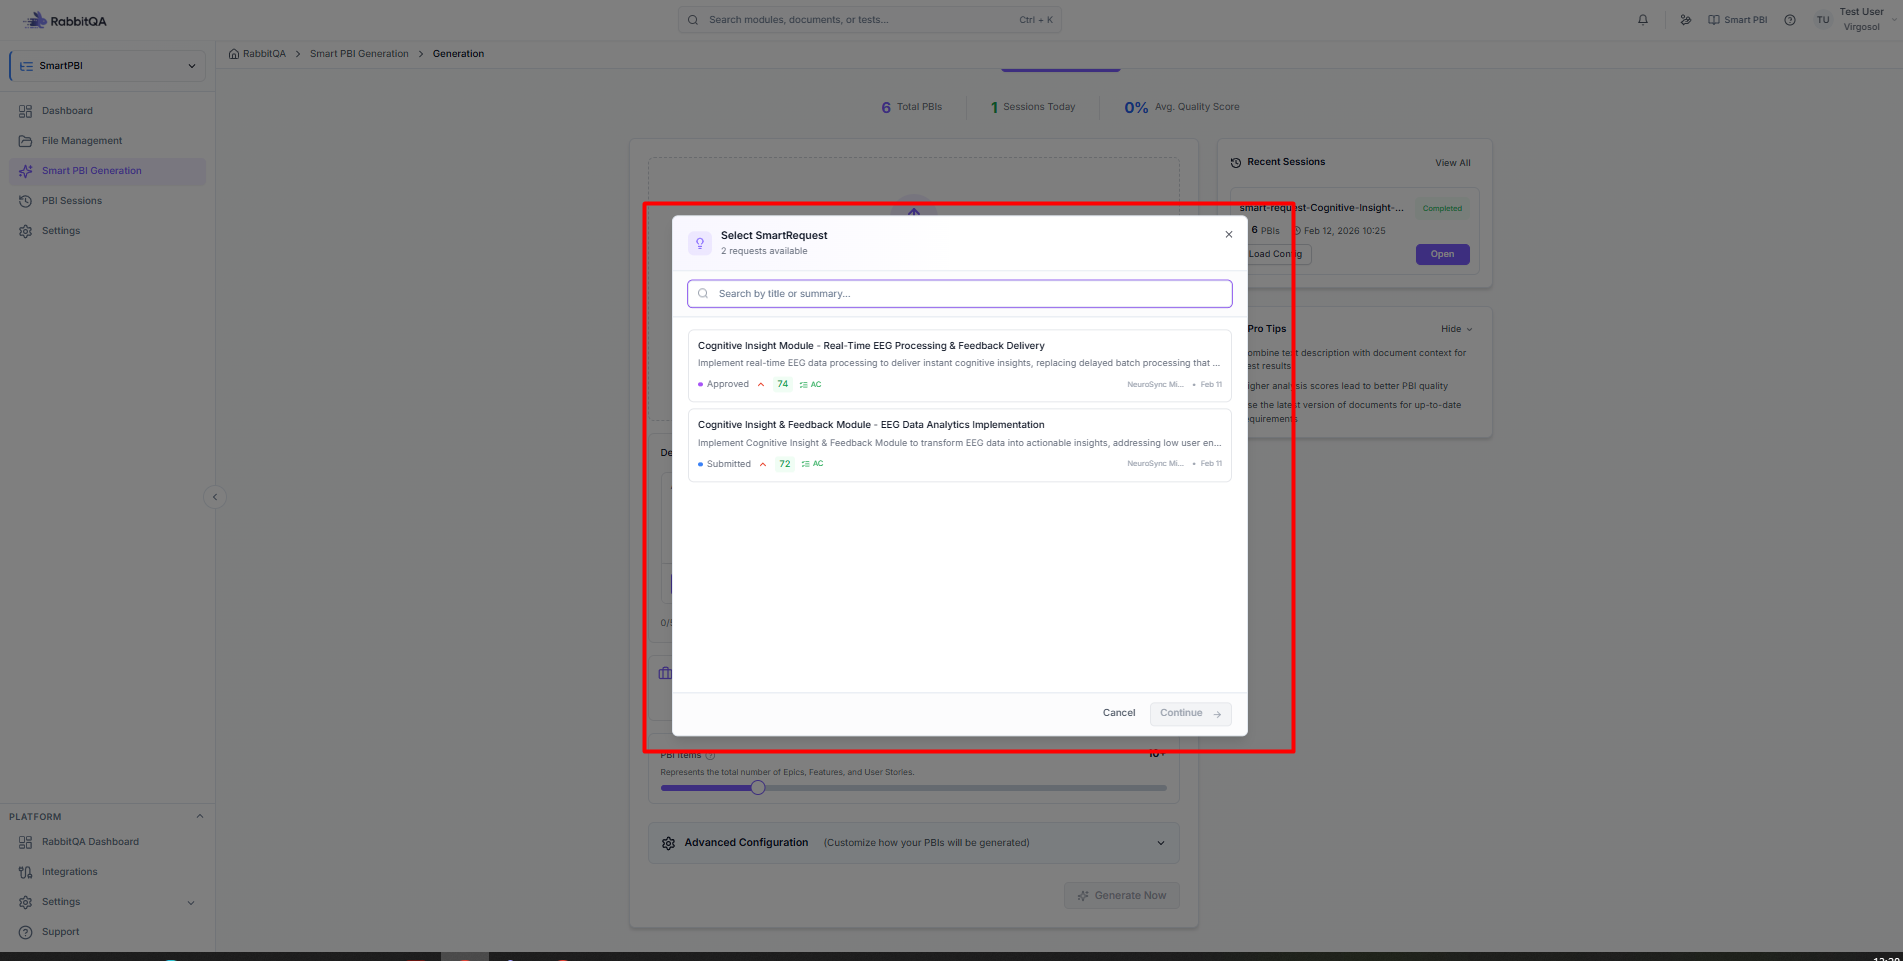
Step 3: Analysis
During this step, the AI processes your inputs:
Processing Stages
- Document Parsing - Extracting text and structure
- Content Analysis - Understanding requirements
- PBI Generation - Creating backlog items
- Hierarchy Building - Organizing structure
Progress Indicators
- Real-time progress bar
- Current processing stage
- Estimated time remaining
What the AI Analyzes
- Business objectives and goals
- User needs and pain points
- Technical requirements
- Acceptance criteria patterns
- Dependencies and relationships
Step 4: Results
Viewing Generated PBIs
List View
All PBIs in a flat list:
- Filter by type (Epic, Feature, Story, AC)
- Search within results
- Sort by various criteria
Hierarchical View
Nested structure showing relationships:
📁 Epic: User Authentication
   📂 Feature: Login System
      📄 Story: As a user, I want to login...
         ✓ AC: System accepts valid credentials
         ✓ AC: Error shown for invalid credentials
      📄 Story: As a user, I want to reset password...
   📂 Feature: Registration
      📄 Story: As a new user, I want to register...
Editing PBIs
Click any PBI to edit:
- Title - Update the PBI name
- Description - Modify content
- Type - Change PBI type
- Acceptance Criteria - Add/edit/remove
Filtering Results
| Filter | Description |
|---|---|
| Type | Show specific PBI types |
| Search | Find by keyword |
| Status | Filter by completion |
Exporting Results
Export to Excel
- Click Export button
- Select Excel format
- Choose columns to include
- Download the file
Export to PDF
- Click Export button
- Select PDF format
- Include/exclude sections
- Generate document
Export to Integration
When integrations are configured:
- Click Export to Jira/Azure DevOps
- Map fields if needed
- Confirm creation
Tips for Better Results
Input Quality
✅ Do:
- Provide clear, specific requirements
- Include user context and personas
- Mention technical constraints
- Add acceptance criteria examples
❌ Don't:
- Use vague or ambiguous language
- Skip business context
- Provide incomplete information
Configuration Tips
- Start with Balanced quality for most use cases
- Use Speed for initial brainstorming
- Use Quality for final documentation
- Enable all relevant platforms
Review Process
- Always review generated content
- Verify acceptance criteria completeness
- Check hierarchy organization
- Refine story point estimates
